Getting Started with Meetapp
Welcome to Meetapp! Choose your role below to navigate the app features.
Exhibitor Command Centre
1. Monitor Your "Lead Radar"
Go beyond manual scanning with a wide-net digital radar that captures every professional in your vicinity.
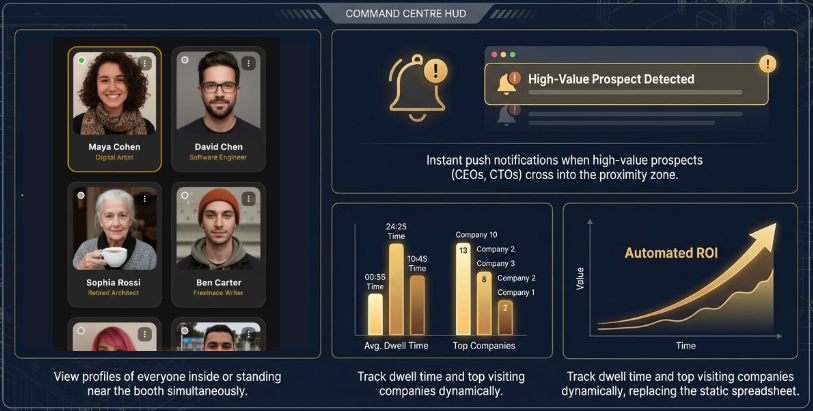
- Real-Time Visibility: View profiles of everyone currently standing inside or near your booth simultaneously.
- Dwell Time Insights: Automatically track how long prospects stay at your booth to gauge their level of interest.
- Top Visiting Companies: See a dynamic breakdown of which organizations are frequenting your space the most.
2. Set Custom VIP Alerts
Command the room by acting as a "Digital Bouncer" for high-value targets.
- High-Value Prospect Detection: Receive instant push notifications the moment a CEO, CTO, or VP enters your proximity zone.
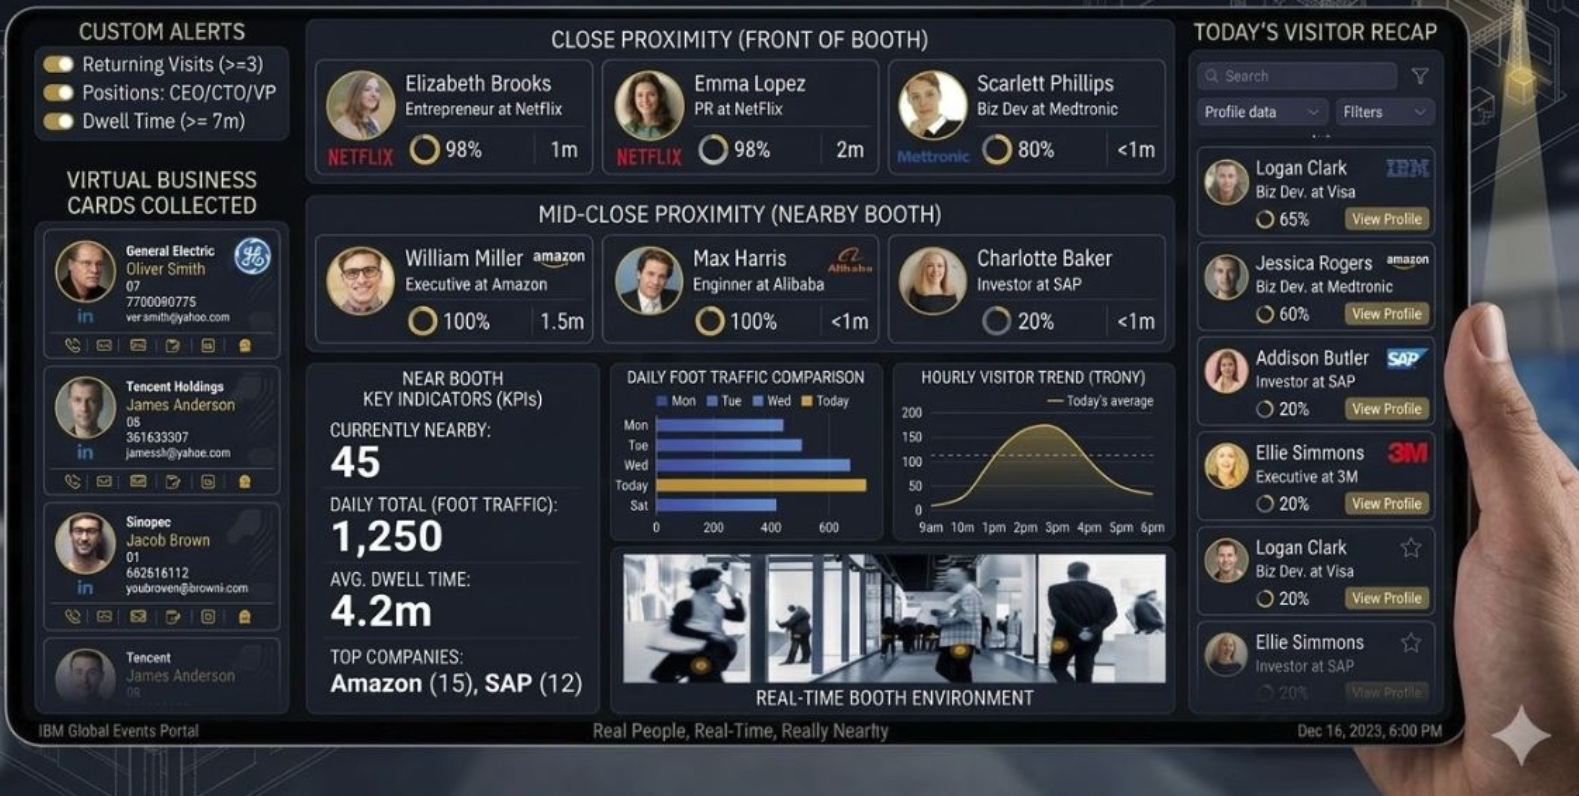
- Smart Filters: Set alerts for returning visitors (e.g., 3+ visits) or specific dwell time thresholds (e.g., 7+ minutes).
3. Analyze Live KPIs
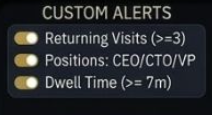
Replace static post-event spreadsheets with a live dashboard of actionable data.
- Daily Foot Traffic: Compare visitor trends across different days of the event.
- Hourly Trends: Identify peak hours to manage booth staffing effectively.
- Virtual Business Cards: Access a centralized list of collected professional profiles and contact details instantly.
Attendee Experience
4. Zero-Friction Onboarding
Join the event ecosystem in under 30 seconds with total anonymity.
- No Registration Required: No email, phone number, or password is ever needed to start.
- Privacy-First: Your data is managed via Device ID sessions and is automatically purged 24 hours after the event.
- Minimal Permissions: The app only requires Bluetooth detection; it uses zero GPS tracking and causes zero background battery drain.
5. Proximity Networking
Discover and connect with the right people in the "Here & Now."
- Discover People: Instantly see profiles of interesting professionals physically around you.
- Warm Approaches: Use the chat feature to send instant messages to attendees you’ve just spotted.
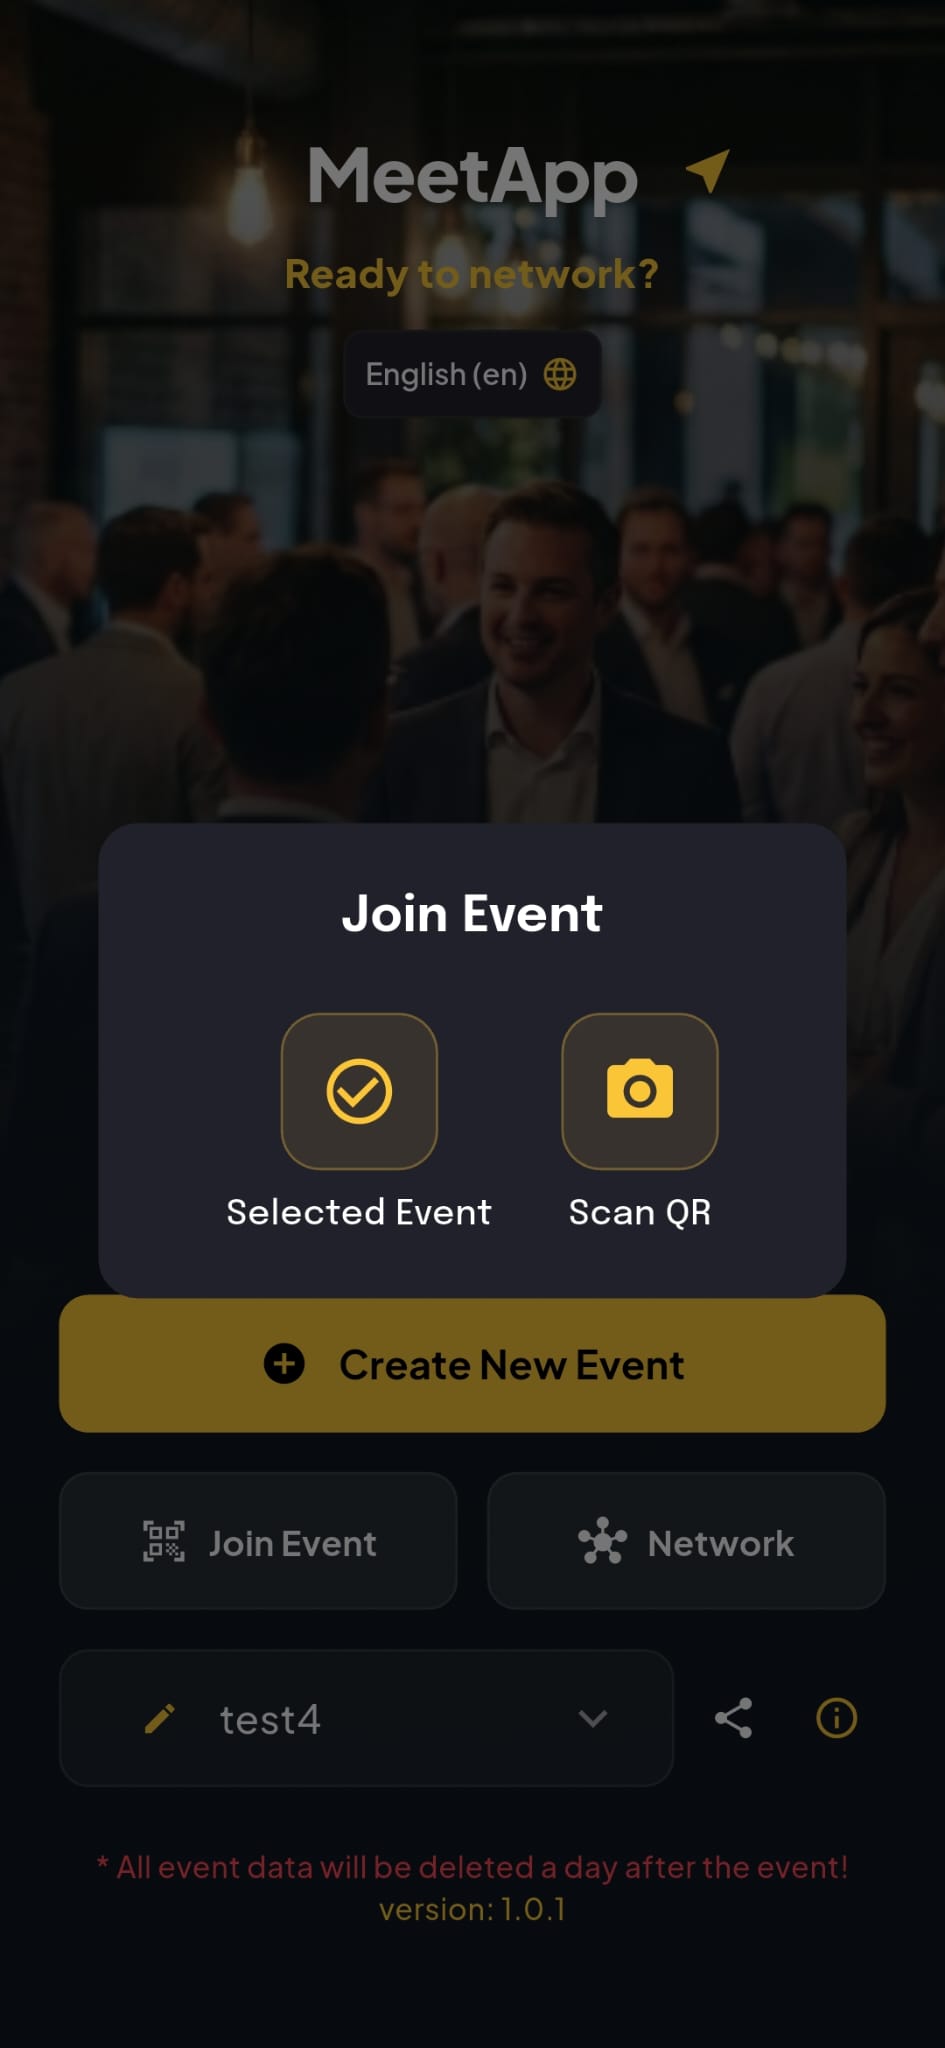
- Indoor Navigation: Effortlessly find any booth on the trade show floor with precise indoor mapping.
6. Gamified Rewards
Engage with the event for a chance to win physical prizes.
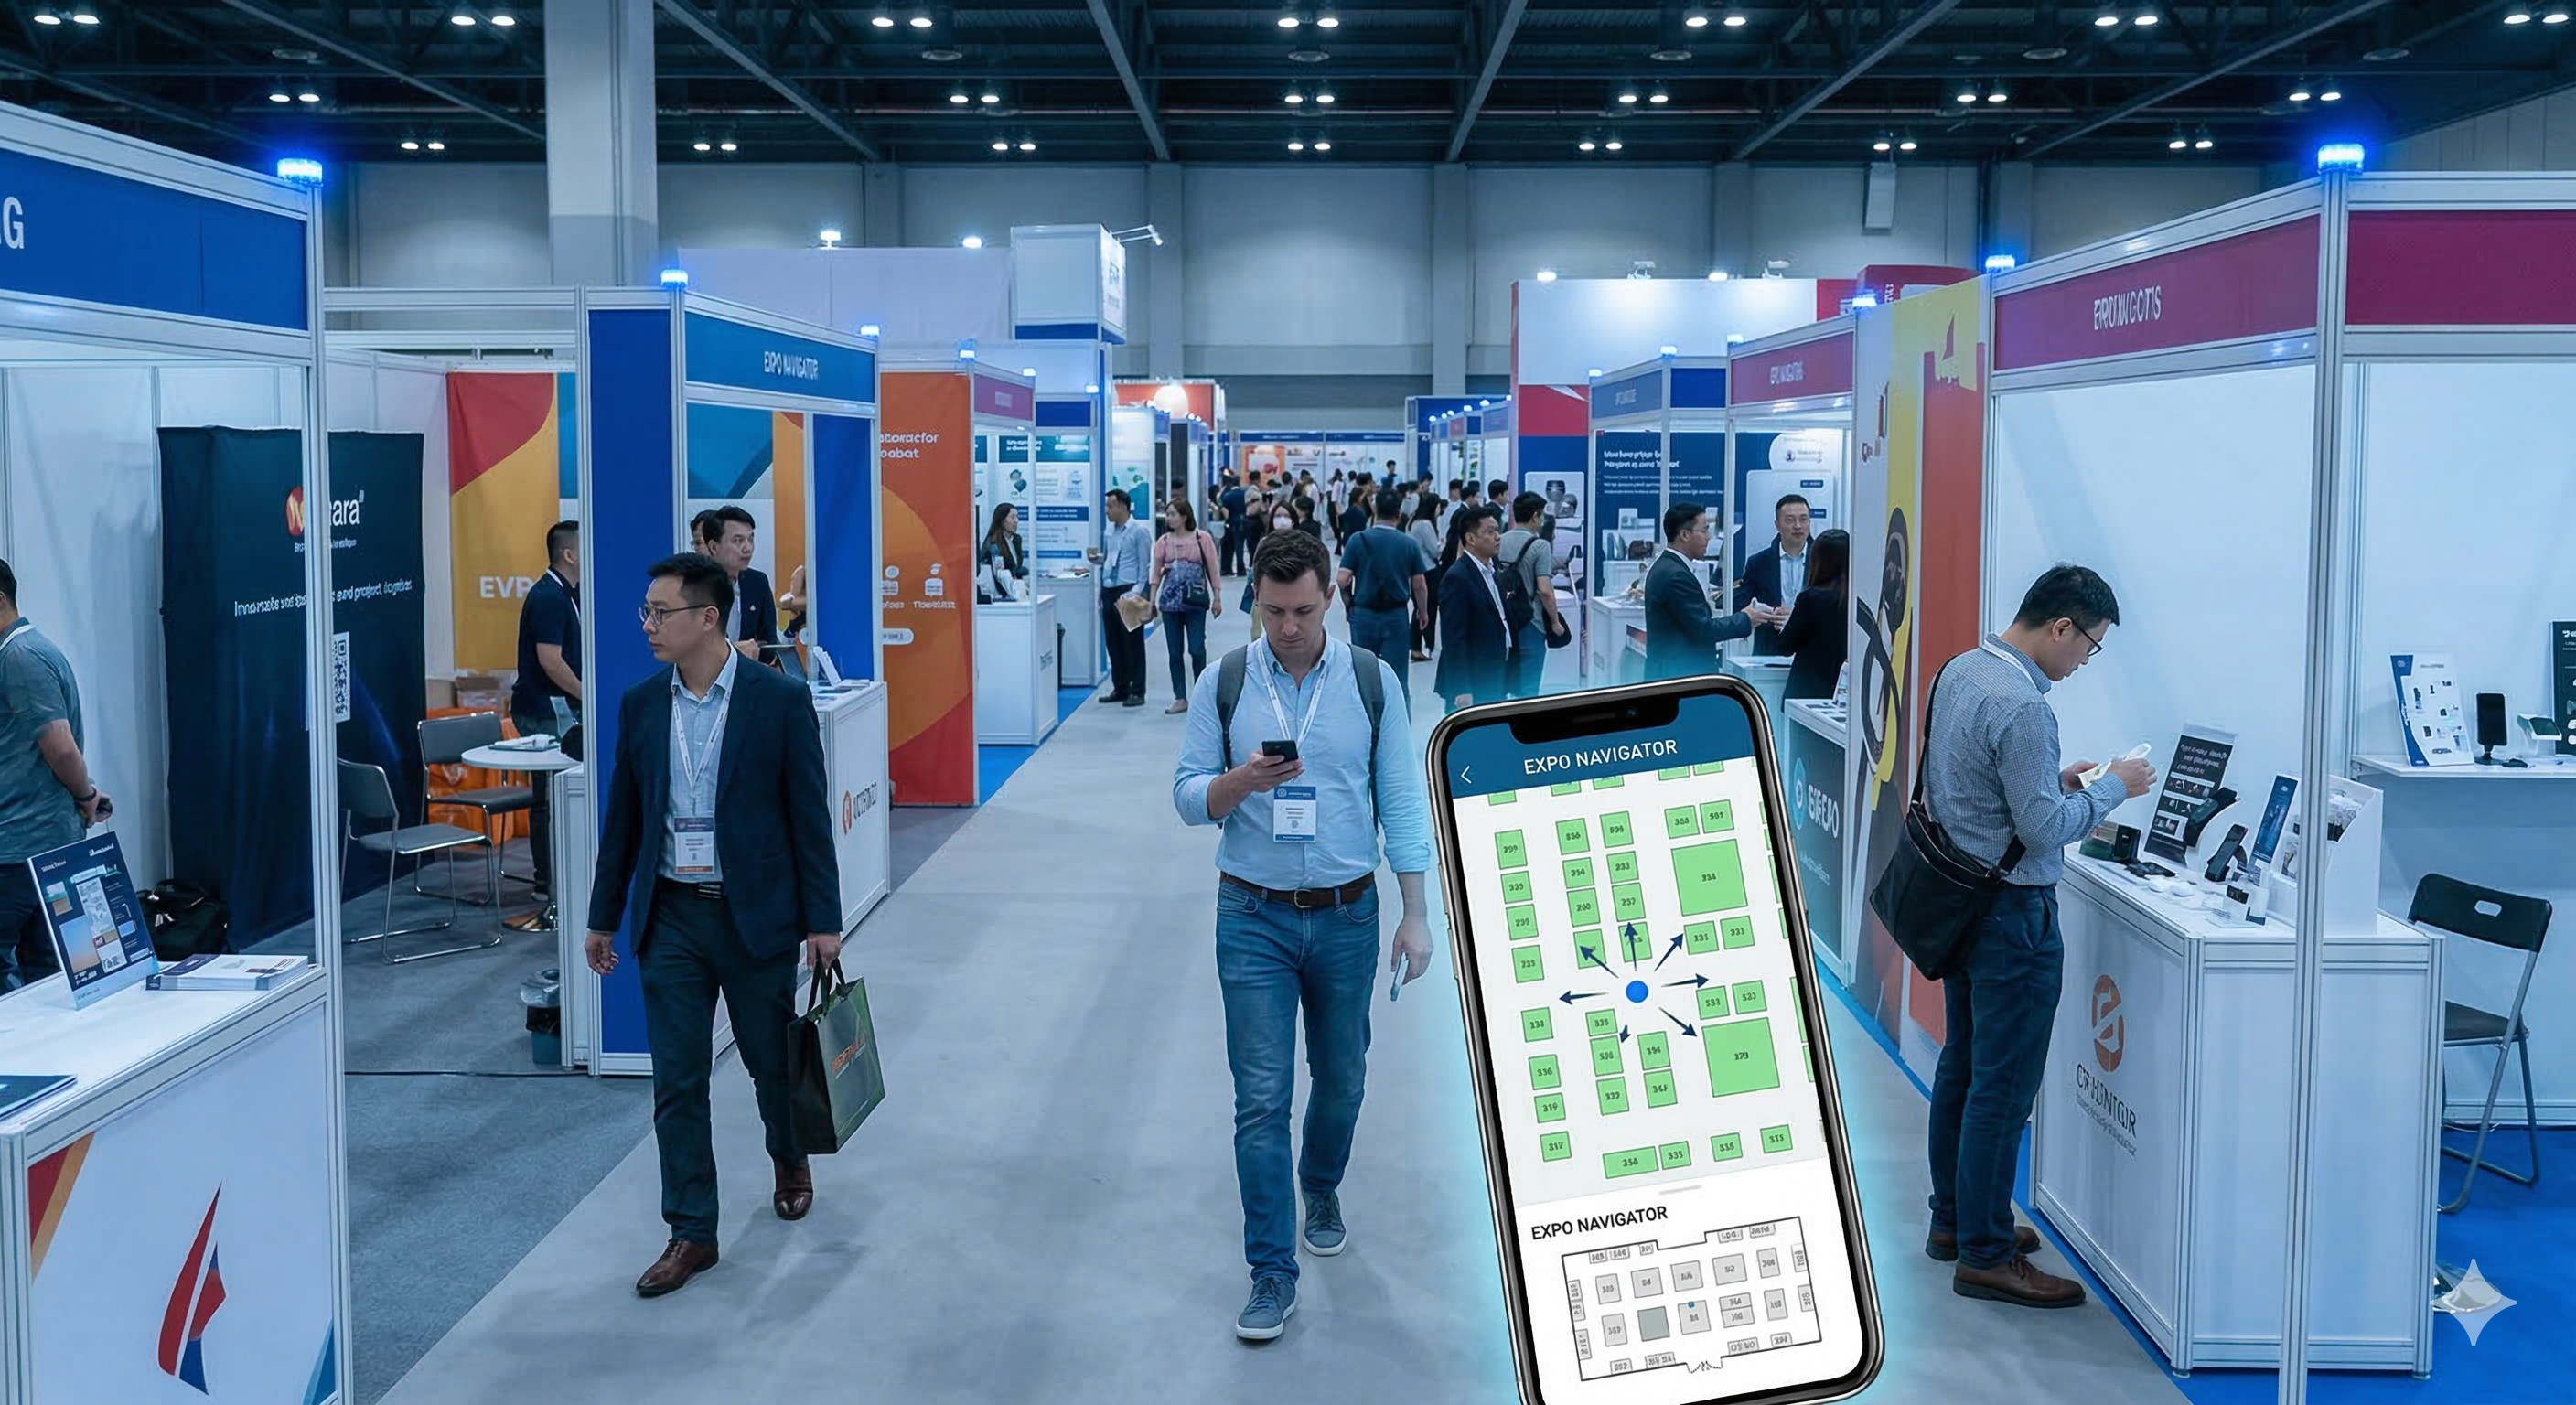
- Hourly Prize Draw: Win $100 every hour simply for validating your profile while in proximity to participating booths.
- Live Engagement: Enjoy a reward-driven experience that makes networking fun and friction-free.
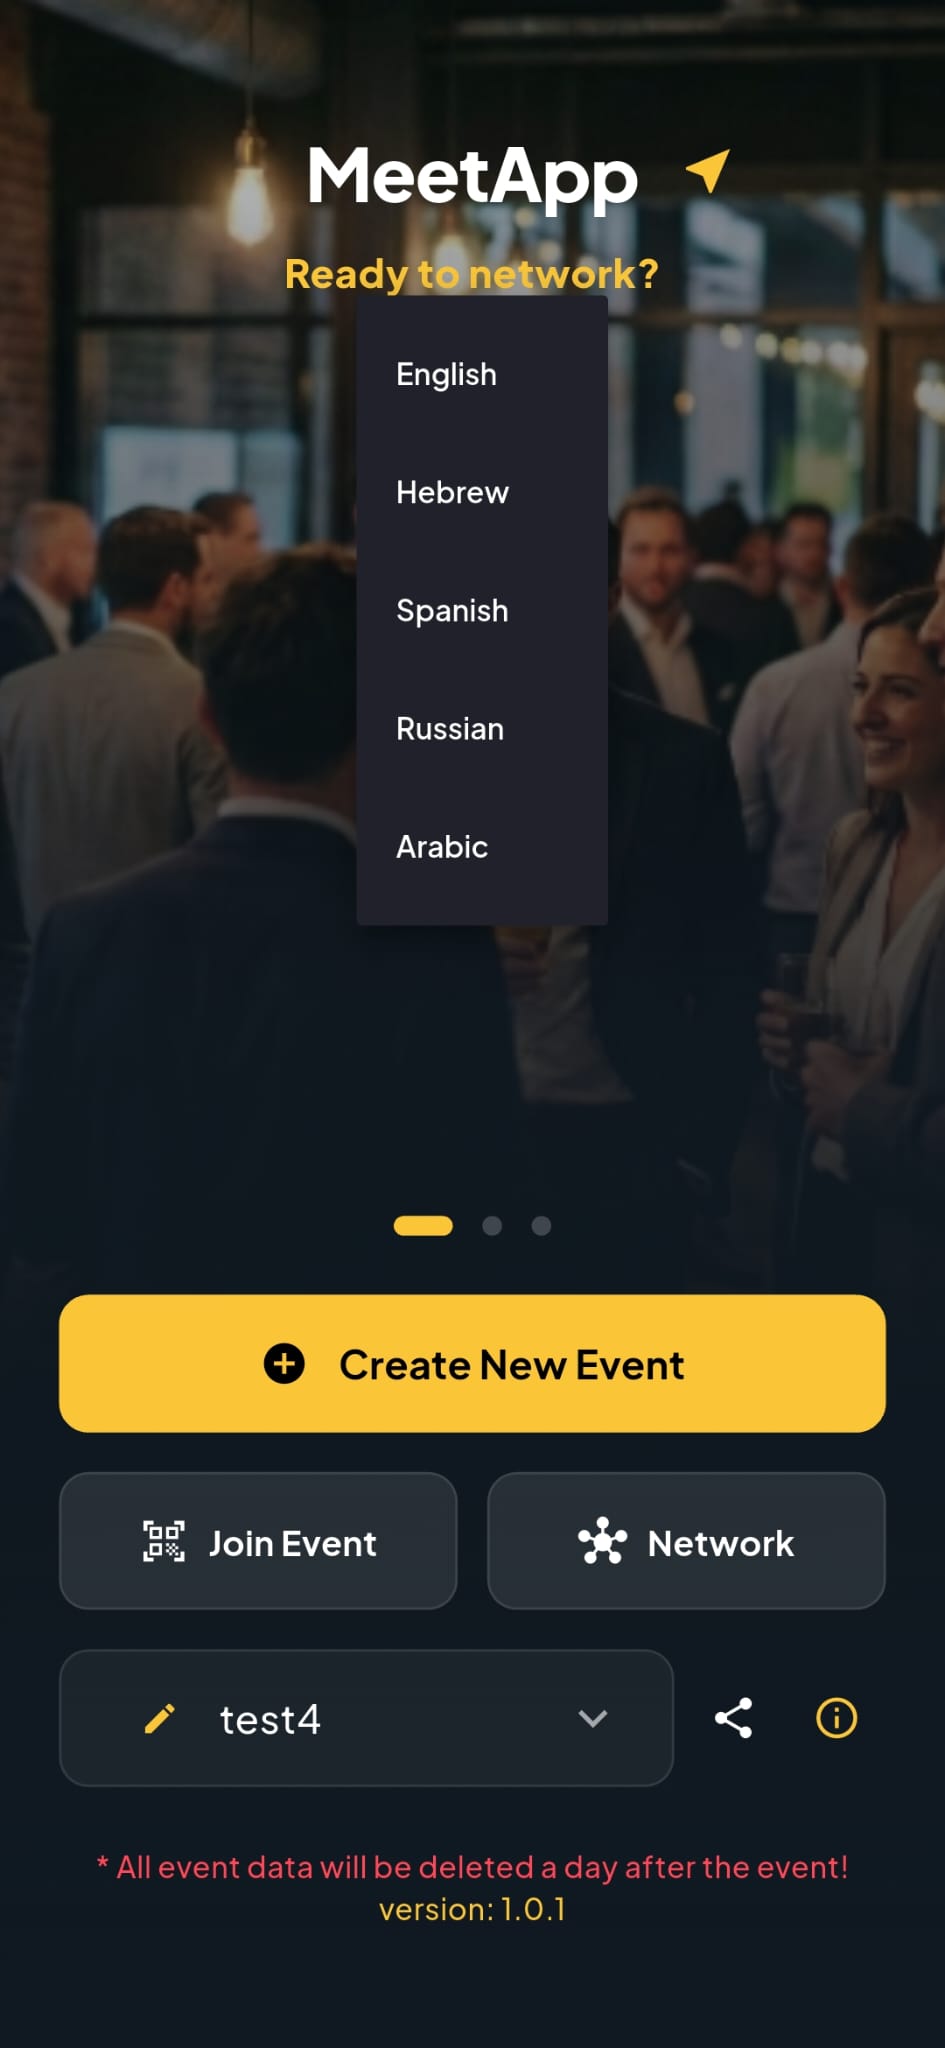
1. Start at the Home Screen
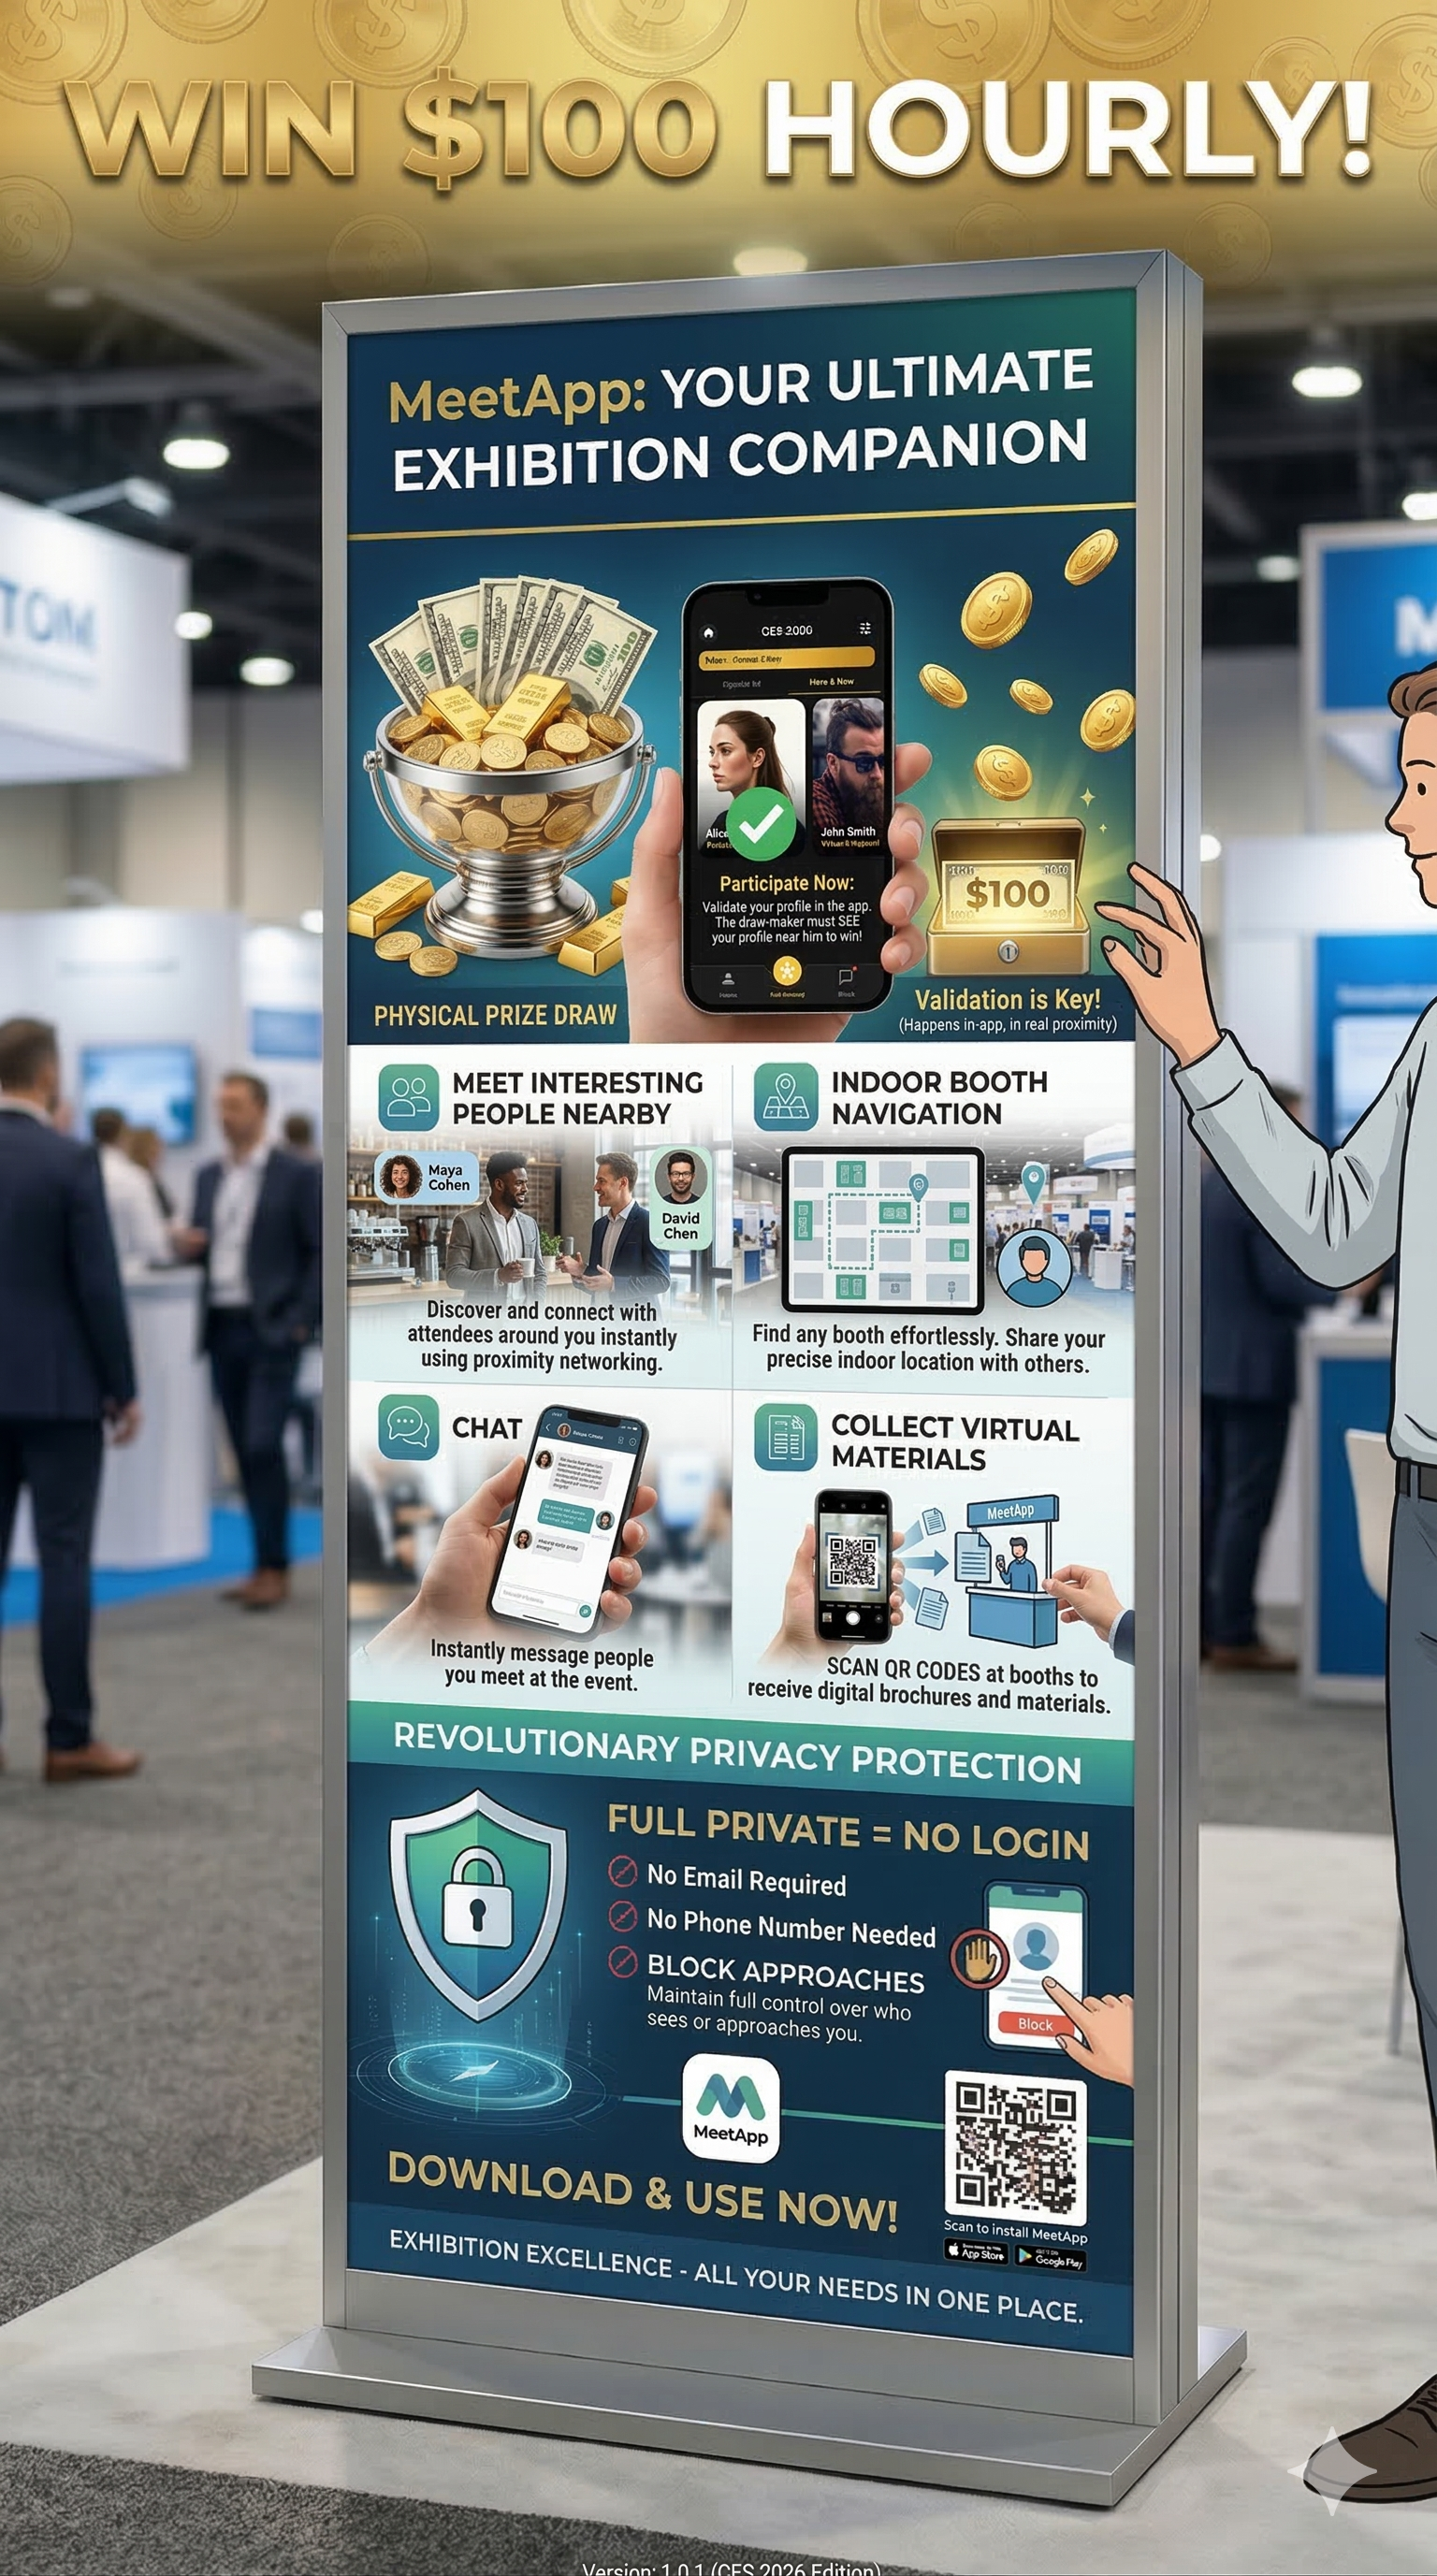
- Select Language: Tap the language icon (top right) to choose your preferred language.
- Create Event: Tap the "Create Event" button to start the 3-step setup flow.
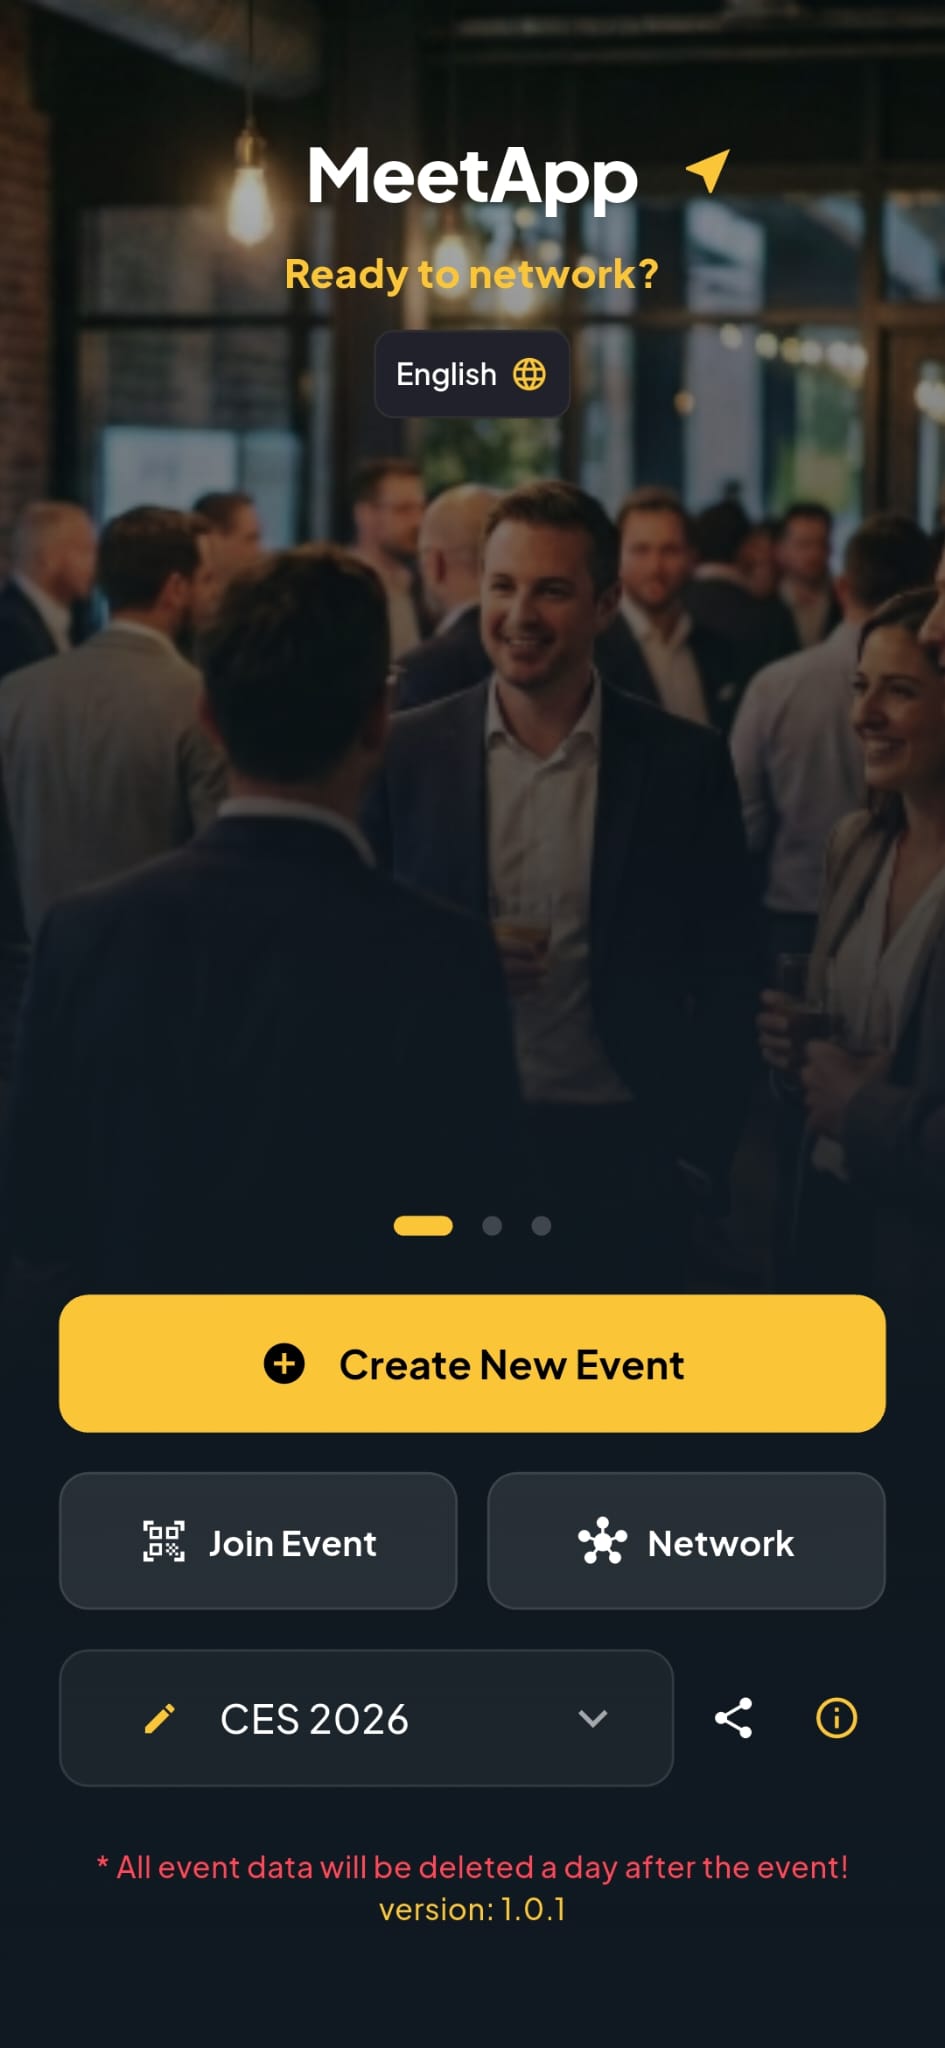
- Select Language: Choose from the available languages: English, Hebrew... Tap the language icon (top right) to choose your preferred language.
2. Choose Your Plan
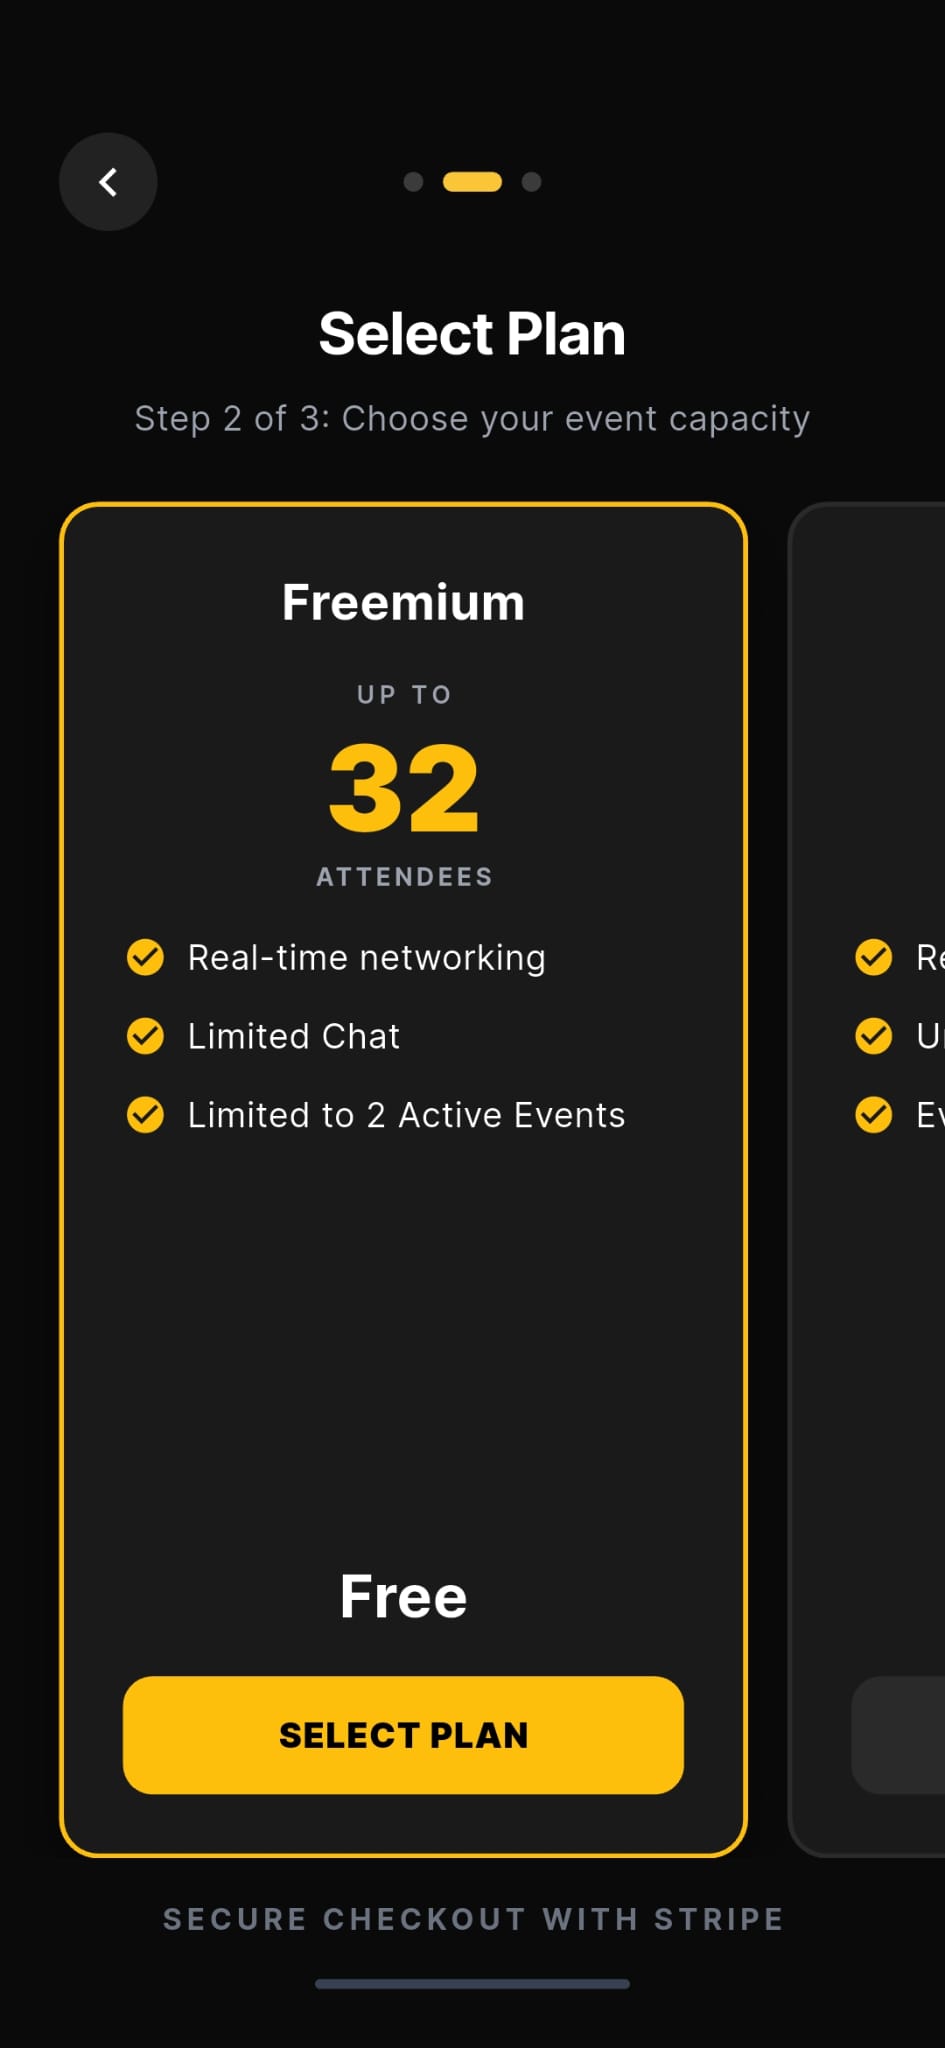
Select the plan that fits your needs.
- Freemium Option:
- Perfect for small gatherings.
- Max duration: 1 day.
- Max attendees: 32 people.
- Paid Accounts: Access advanced features like event analytics.
3. Event Setup - 30 Seconds to Go!
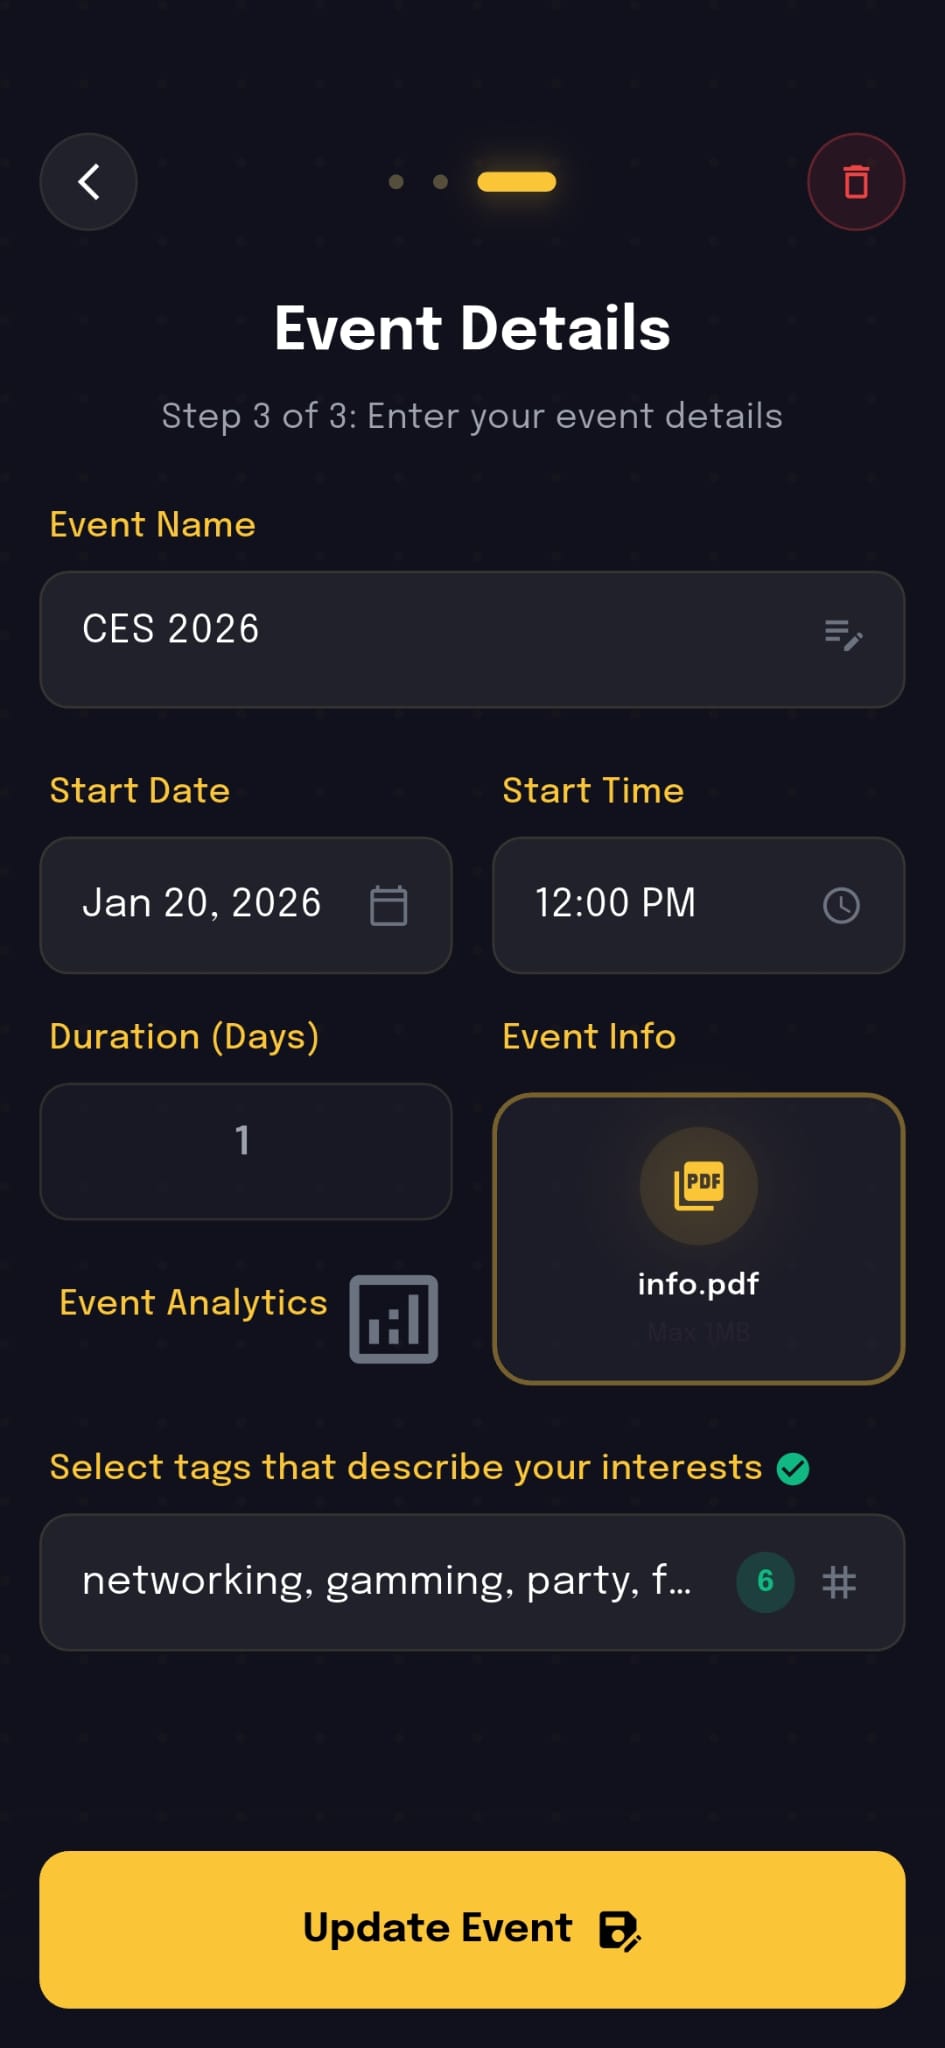
Built for speed. Setting up an event creates a dedicated space for your community.
- Quick Details: Enter basic info. For Freemium, remember the 1-day limit.
- Categories: Select a minimum of 3 categories. This helps attendees filter and find relevant profiles.
- Event Info Upload: Upload general event info (PDF) up to 1 MB for your attendees to download.
4. Manage Your Event
- Edit Event Data: As an owner, you can edit your event details directly from the home page dropdown or event card.
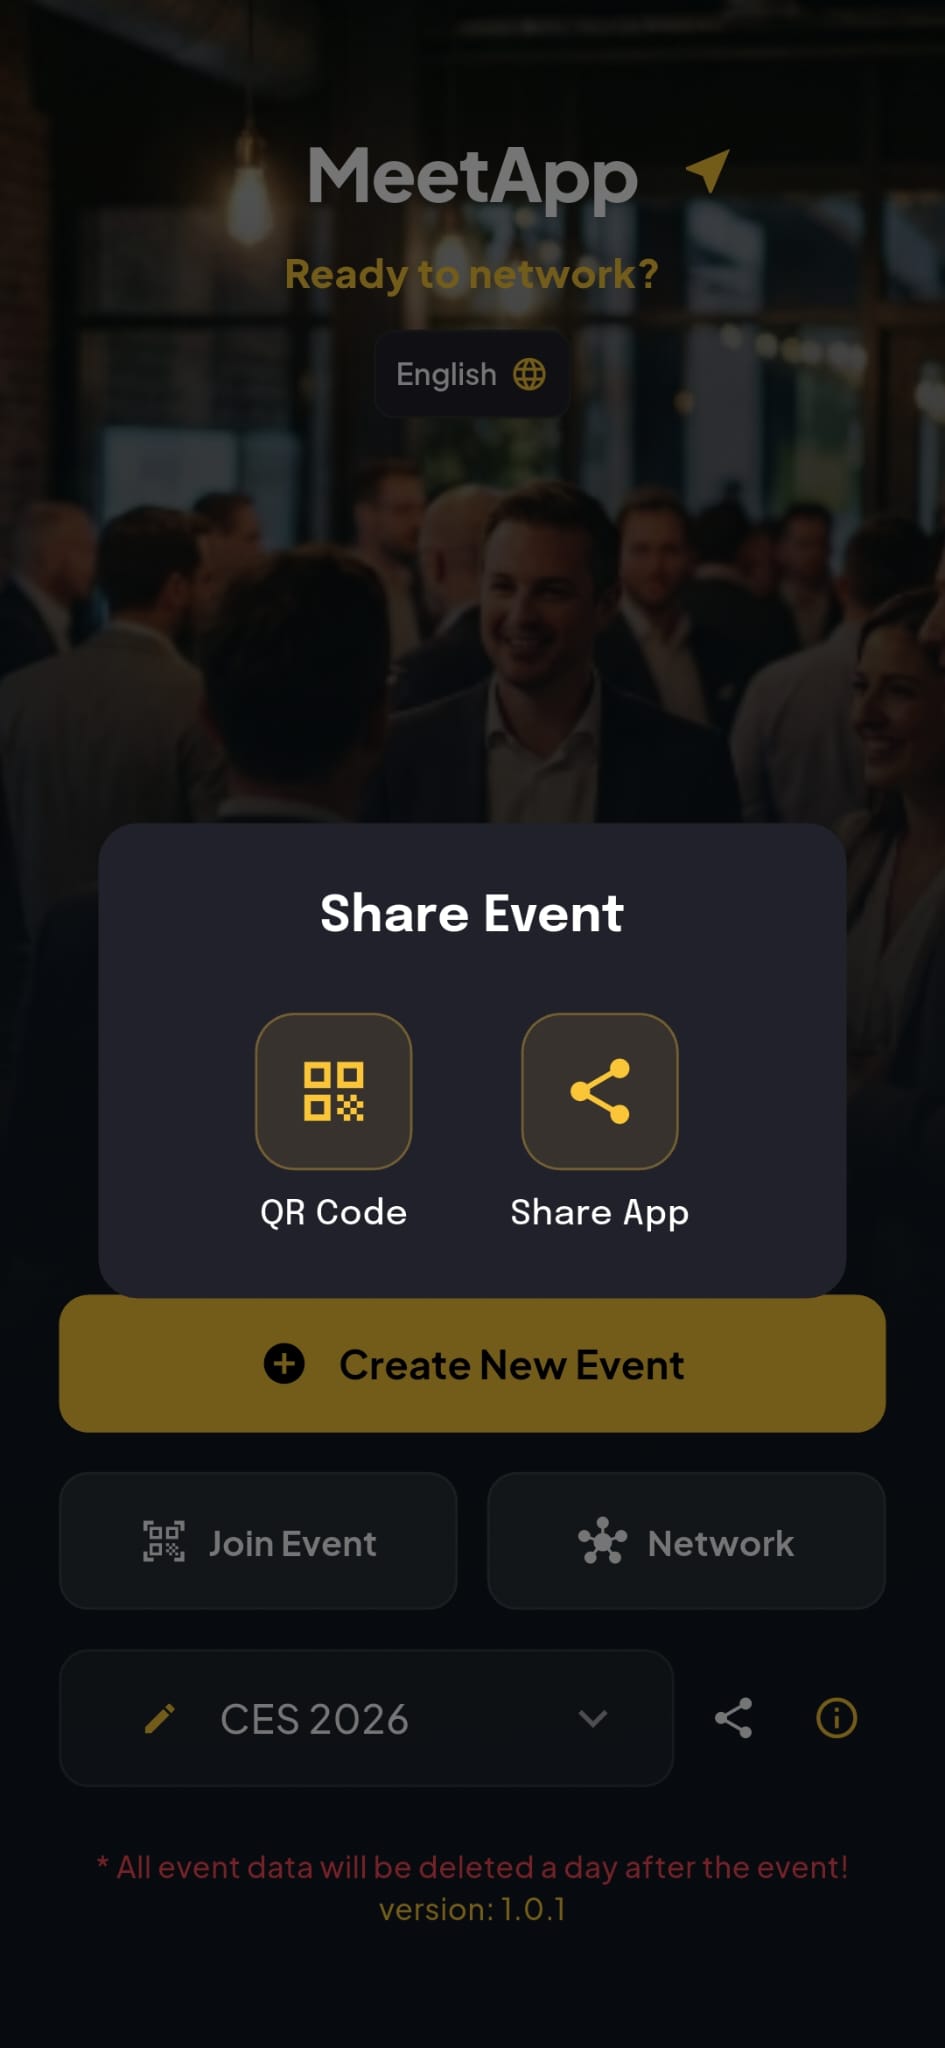
- Share Event:
- QR Code: Display it for attendees to scan on arrival.
- Link: Send a direct link to invitees via any messaging app.
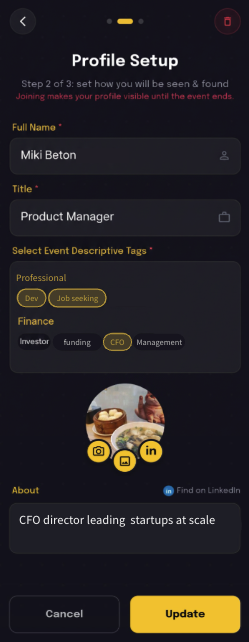
5. Create Your Event Profile
Even as an owner, you're a participant.
- Support Attendees: Creating a profile allows you to receive chat requests from attendees.
- Broadcasts: Send broadcast messages to all attendees to keep them updated.
- Profile Image: You can use a generic image or your company logo.
6. Networking - Signed UP
Block problematic attendees.
- Block attendee: On the attendees quick actions menu, or the attendees card you can block or unblock the attendee.
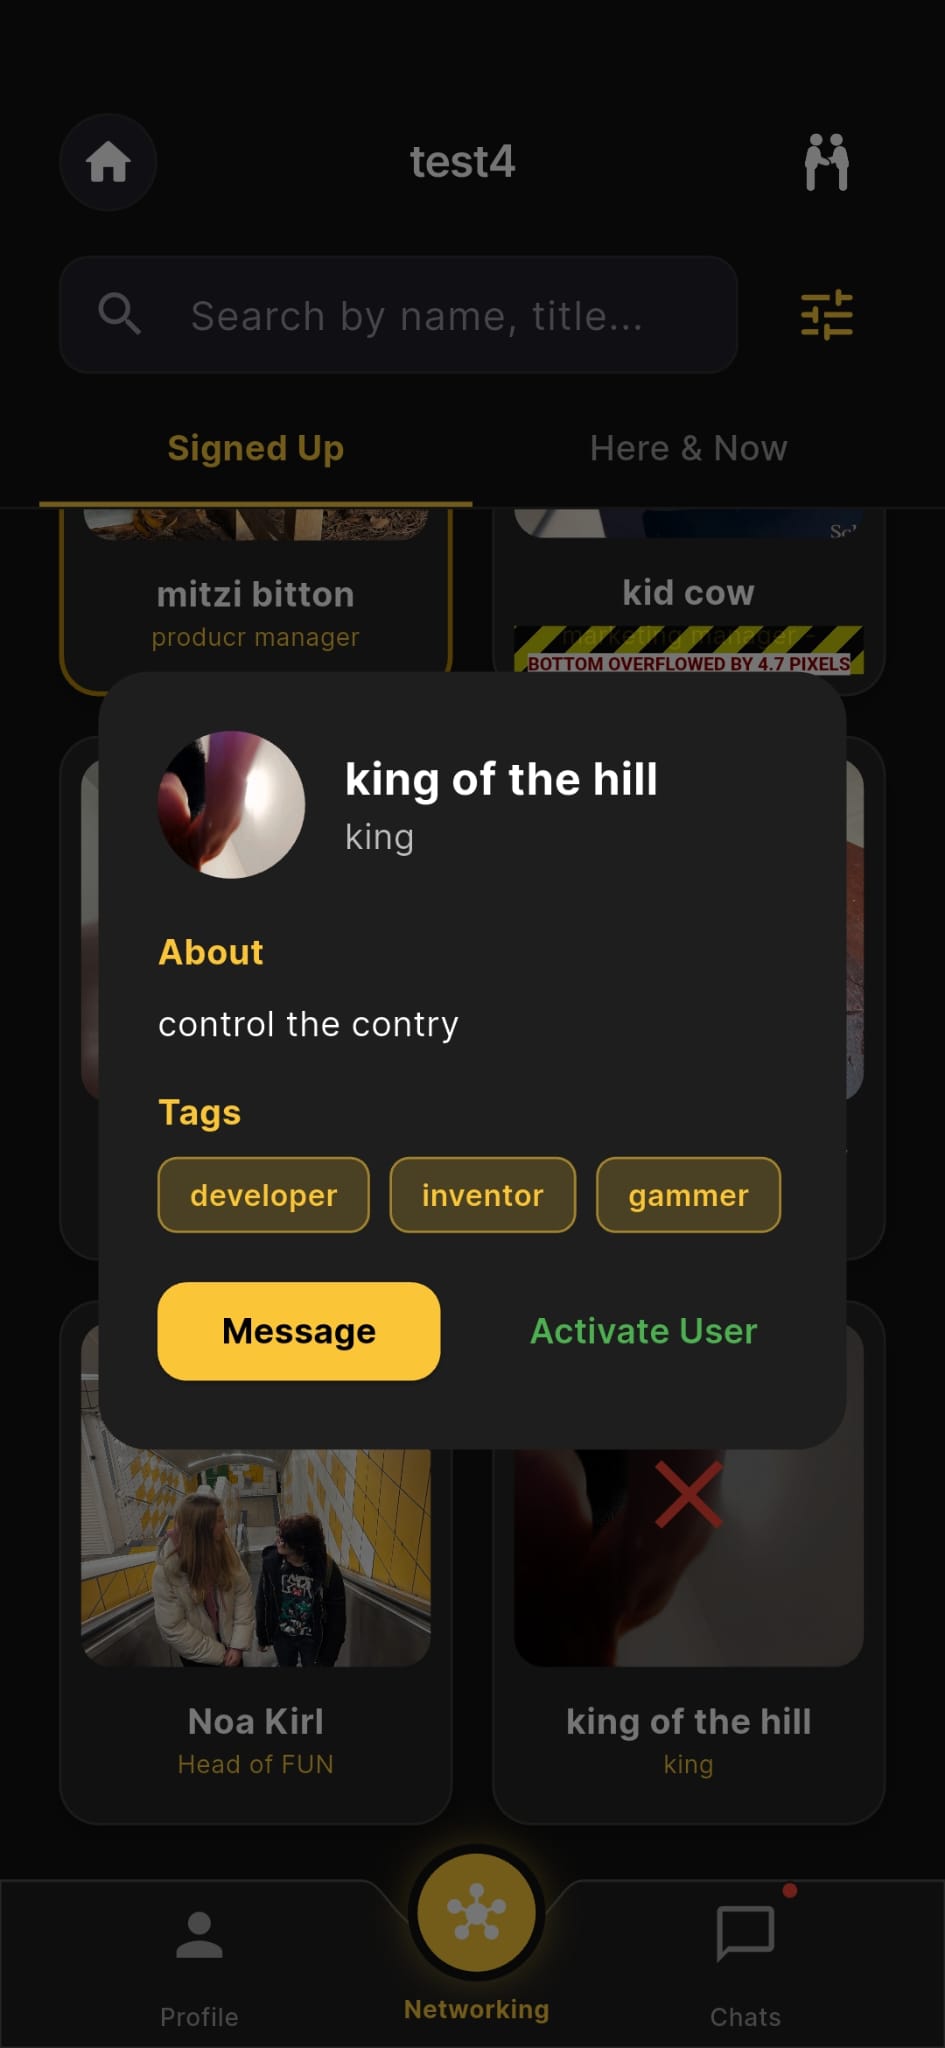
- How blocked attendees appear to owners: blocked attendees will appear in the event owner's list with a red X on those attendee cards.
- How blocked attendees appear to attendees: blocked attendees will not appear in the attendees' lists.
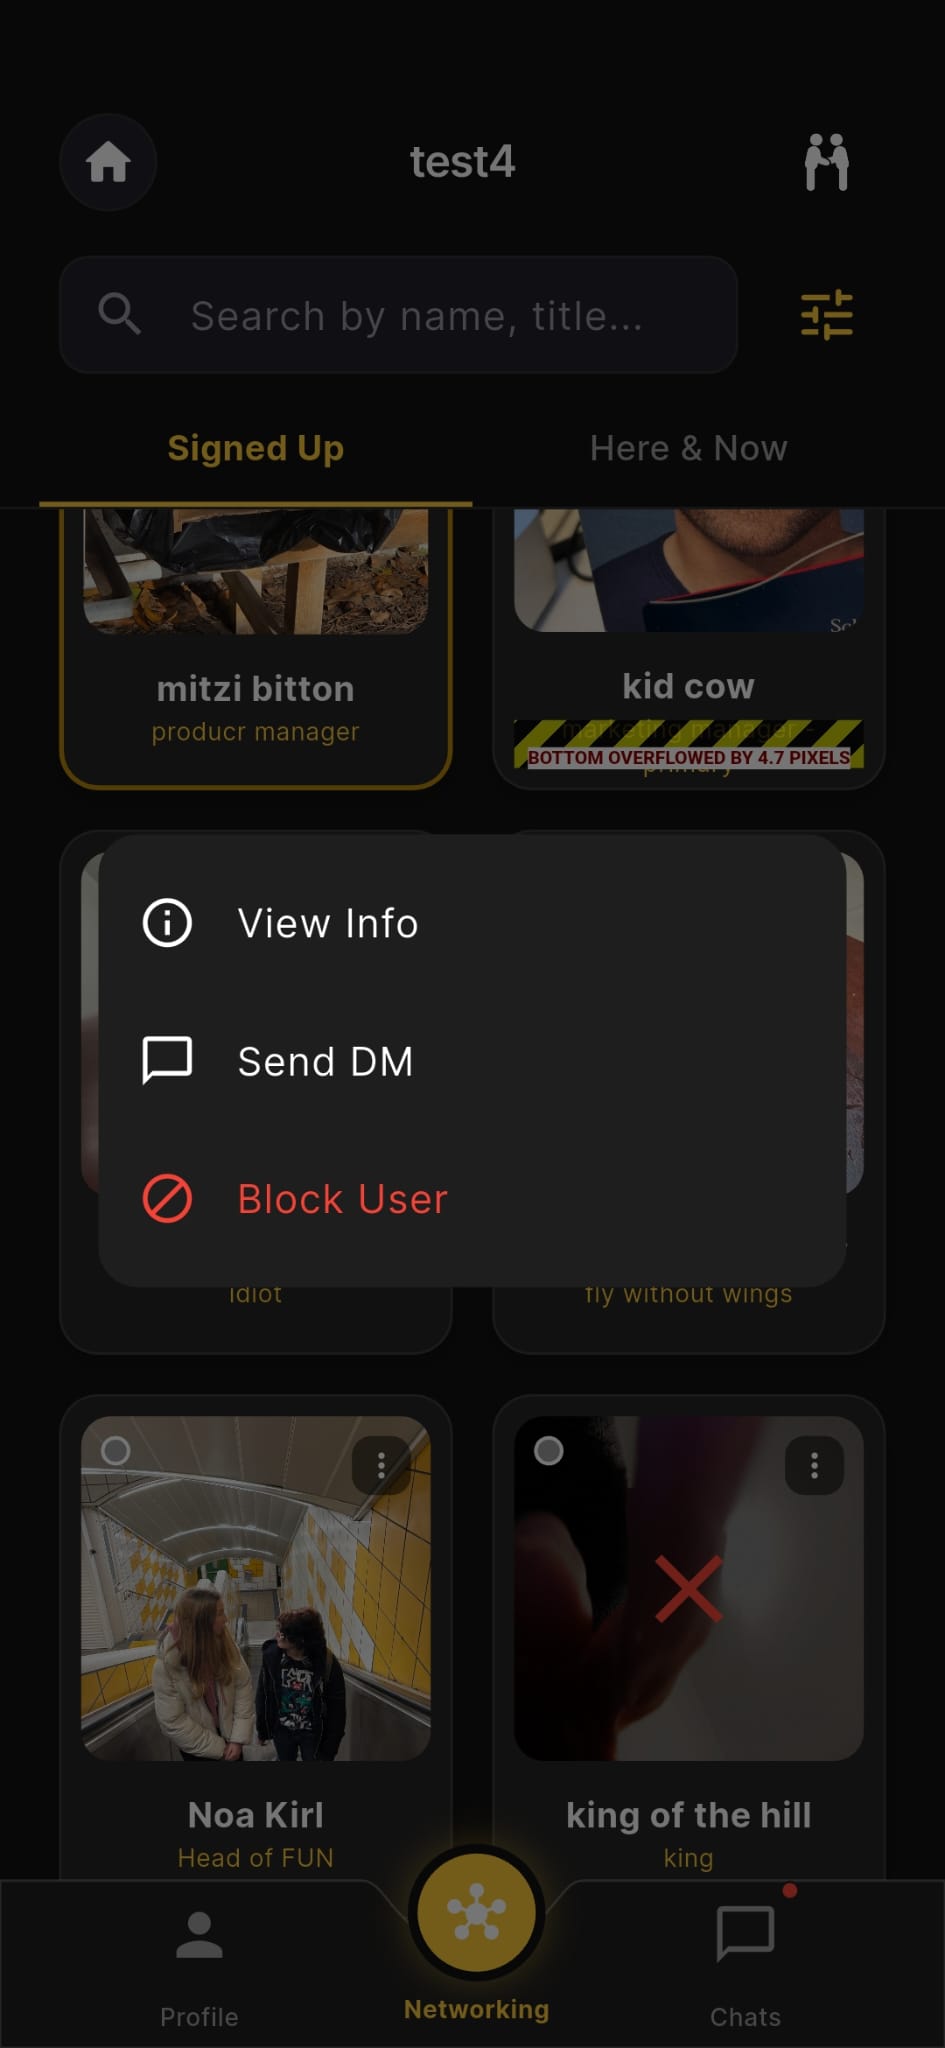
- Unblock attendee: In the attendee quick actions menu, or the attendees card you can block or unblock the attendee.
7. Chat screen
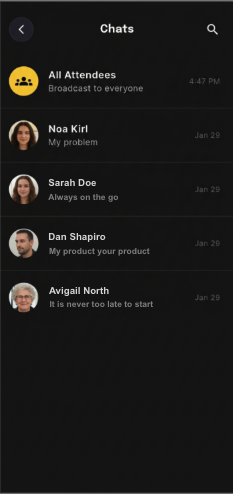
Chat or Broadcast.
- Chat: Chatting with other attendee.
- Broadcasts: Send broadcast messages to all attendees to keep them updated.
1. Start at the Home Screen
- Select Language: Tap the language icon (top right) to choose your preferred language.
- Join Event: Tap the "Join Event" button to start the 3-step setup flow. You can join an event by scanning the QR code, clicking an event link, or selecting from your 'Joined Events' list.
- Share Event: As an attendee you can still share an event with your network.
- Event Information: Clicking the info icon will open the event information screen, where you can view the event details, like event agenda, map, etc.
- Event Profile: To start networking you need to create an event profile, first. Your profile is specific to each event you join.
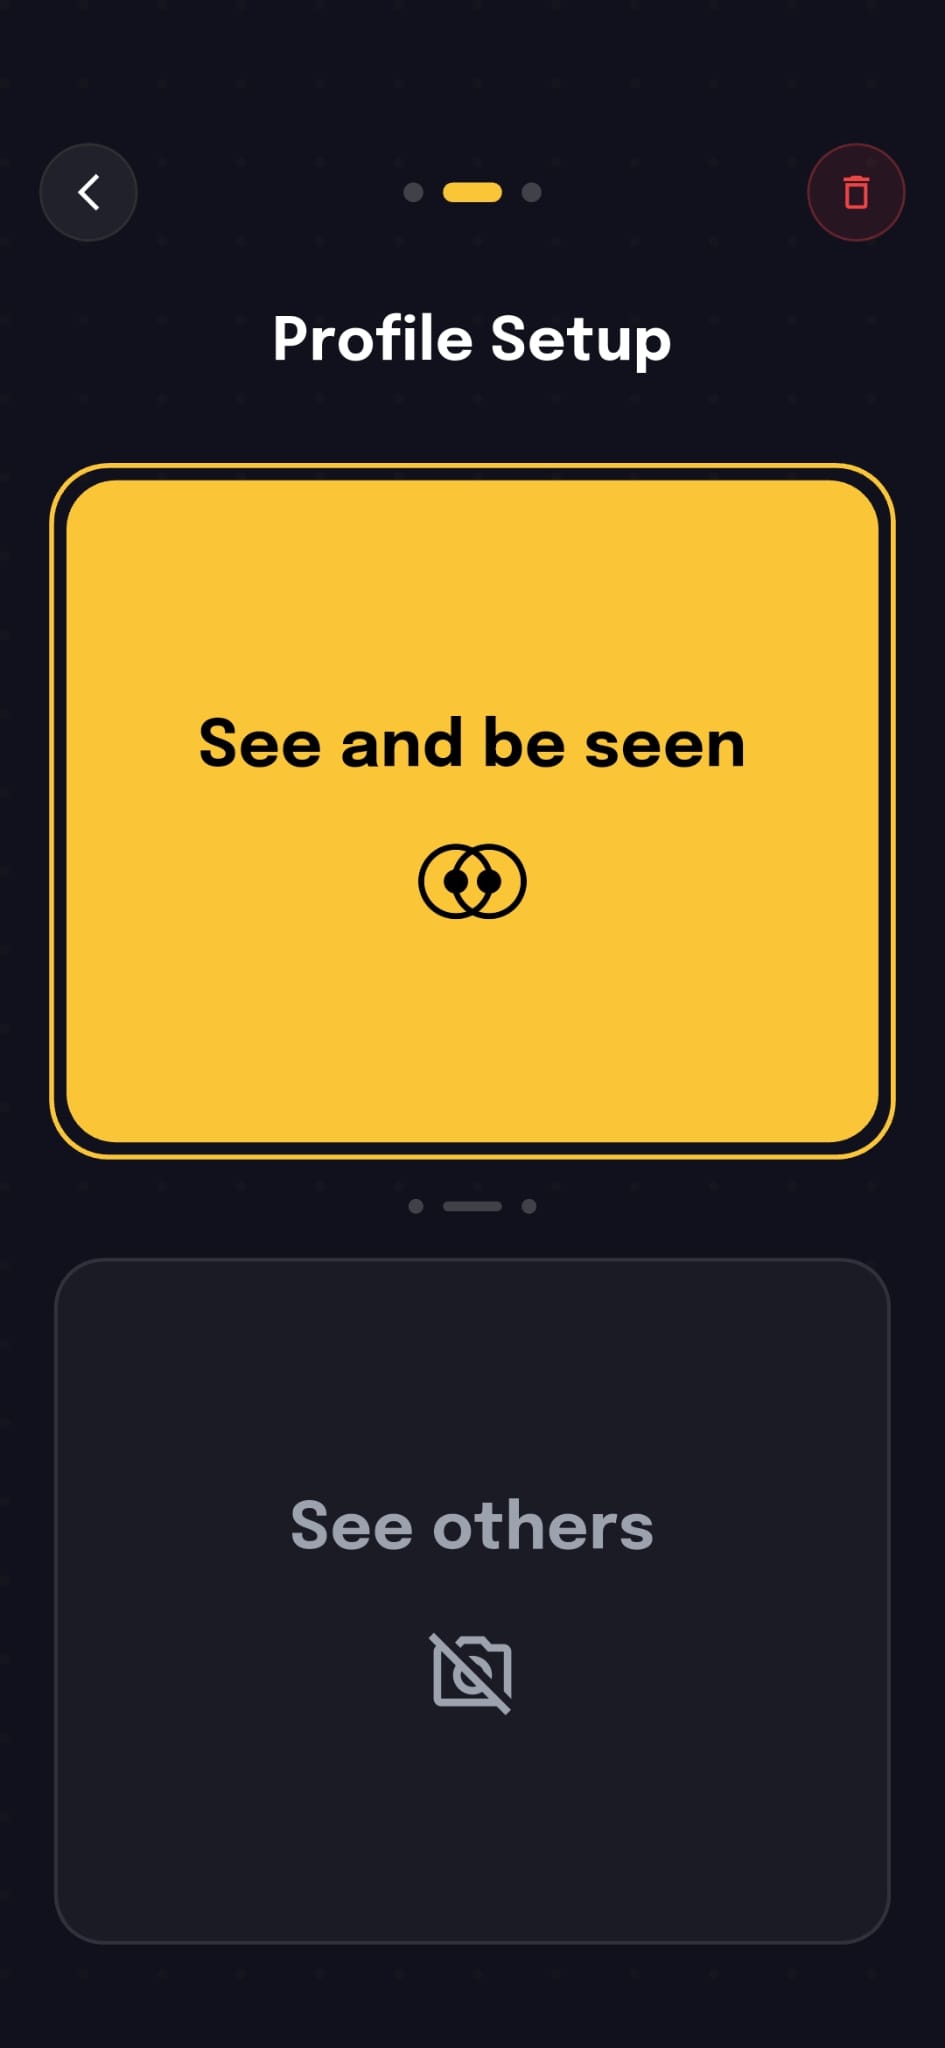
2. Choose Your Profile Mode
When setting up your event profile, choose the visibility and detail level that best fits your networking preferences:
- "See and be seen" (Full Profile): Choose a fully descriptive profile visible to all relevant attendees with complete details of your employment, role, bio, and matching interest tags.
- "See others" (Minimized Badge Profile): Choose a minimized profile styled after a physical event lanyard badge. At the bare minimum, it requires only your name — giving you privacy to browse and discover others without sharing extensive personal details.
- Flexible at Any Moment: You can easily change your mode or upgrade to a full profile at any time directly from the app.
3. Profile Setup Options
Depending on your chosen mode, complete your profile setup with either a full professional card or a minimal lanyard badge:
Option A: Full Descriptive Profile
For attendees selecting "See and be seen" — a rich networking profile:
- Profile Image: Upload any photo from your device gallery, take one with your camera, or import directly from LinkedIn.
- Full Name: Your displayed name across attendee lists and cards.
- Title & Company: Highlight your professional role and organization.
- About: A short personal or professional bio.
- Descriptive Tags: Select from tags established by the event organizer to match with peers of shared interests.
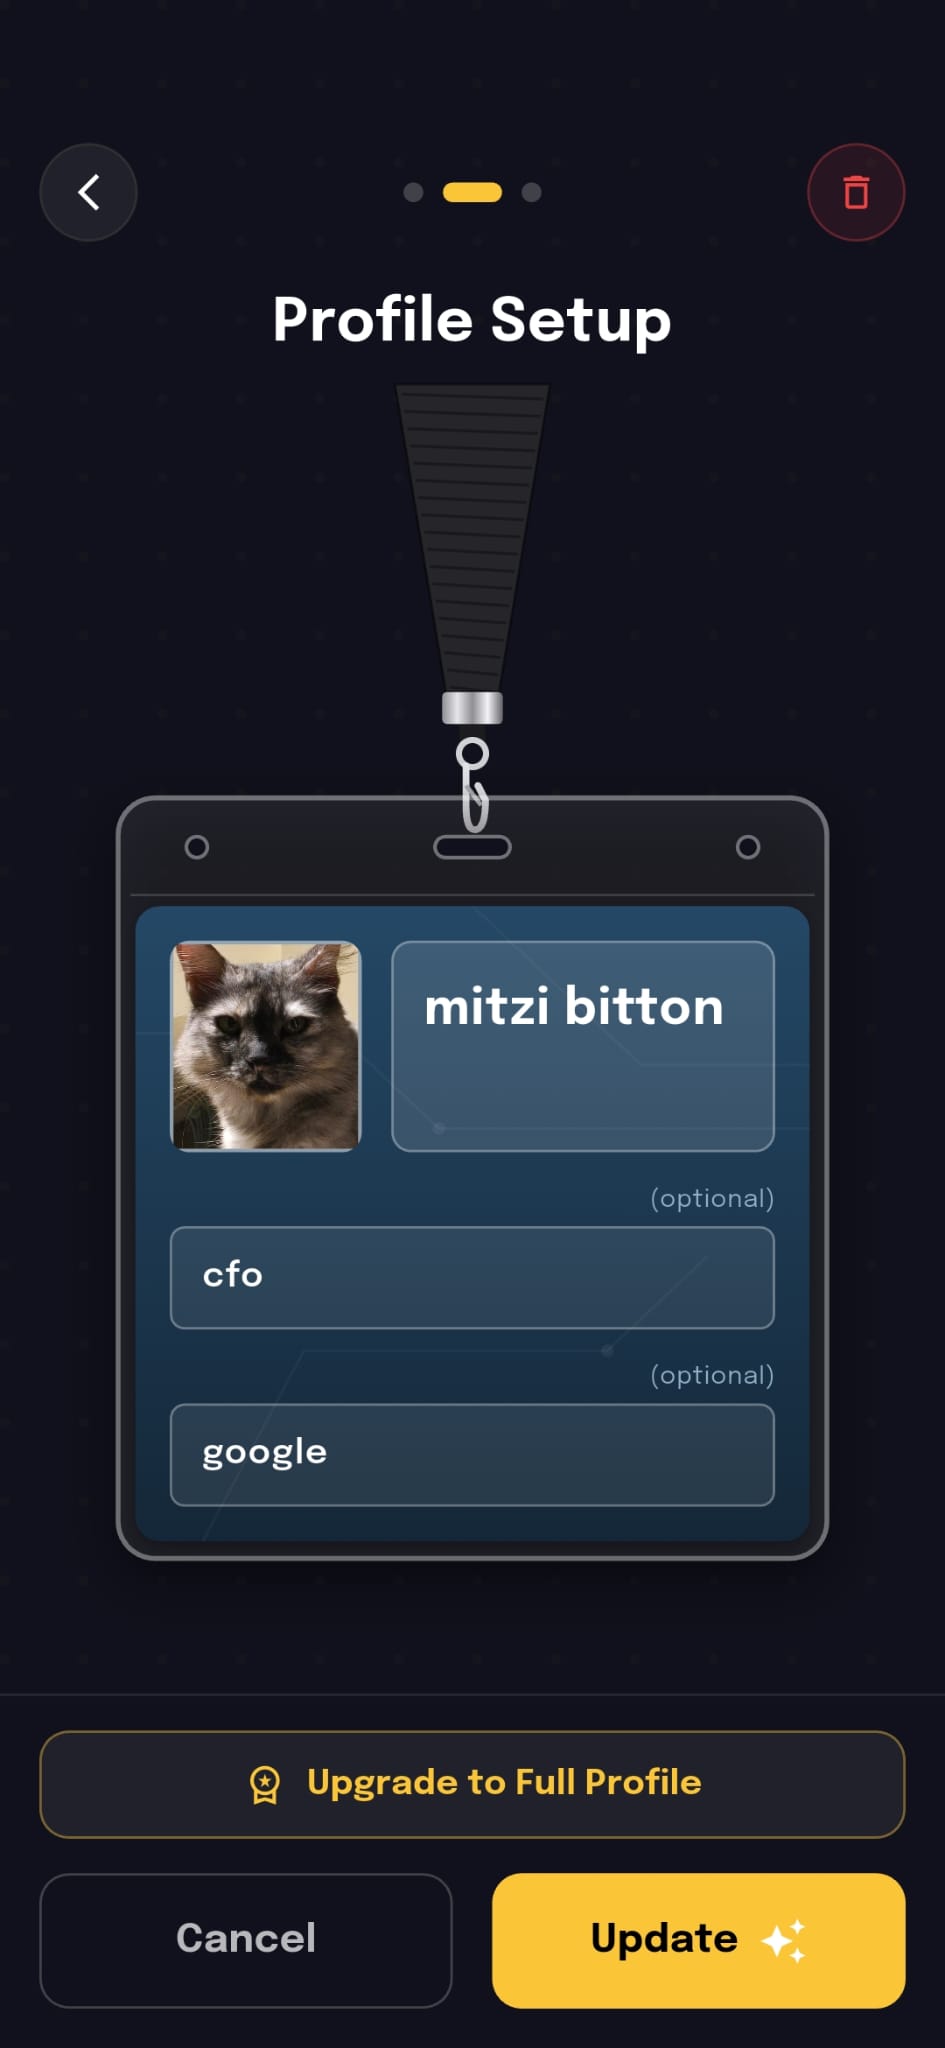
Option B: Minimized Profile (Lanyard Badge)
For attendees selecting "See others" — a fast, privacy-friendly digital badge:
- Name Only (Bare Minimum): Only your attendee name is required to get started immediately.
- Optional Role & Organization: Optionally add a photo, title, or company if you wish without having to fill out a full biography or tags.
- Upgrade to Full Profile: Tap the "Upgrade to Full Profile" button directly below your lanyard badge anytime you want full networking visibility.
4. Networking
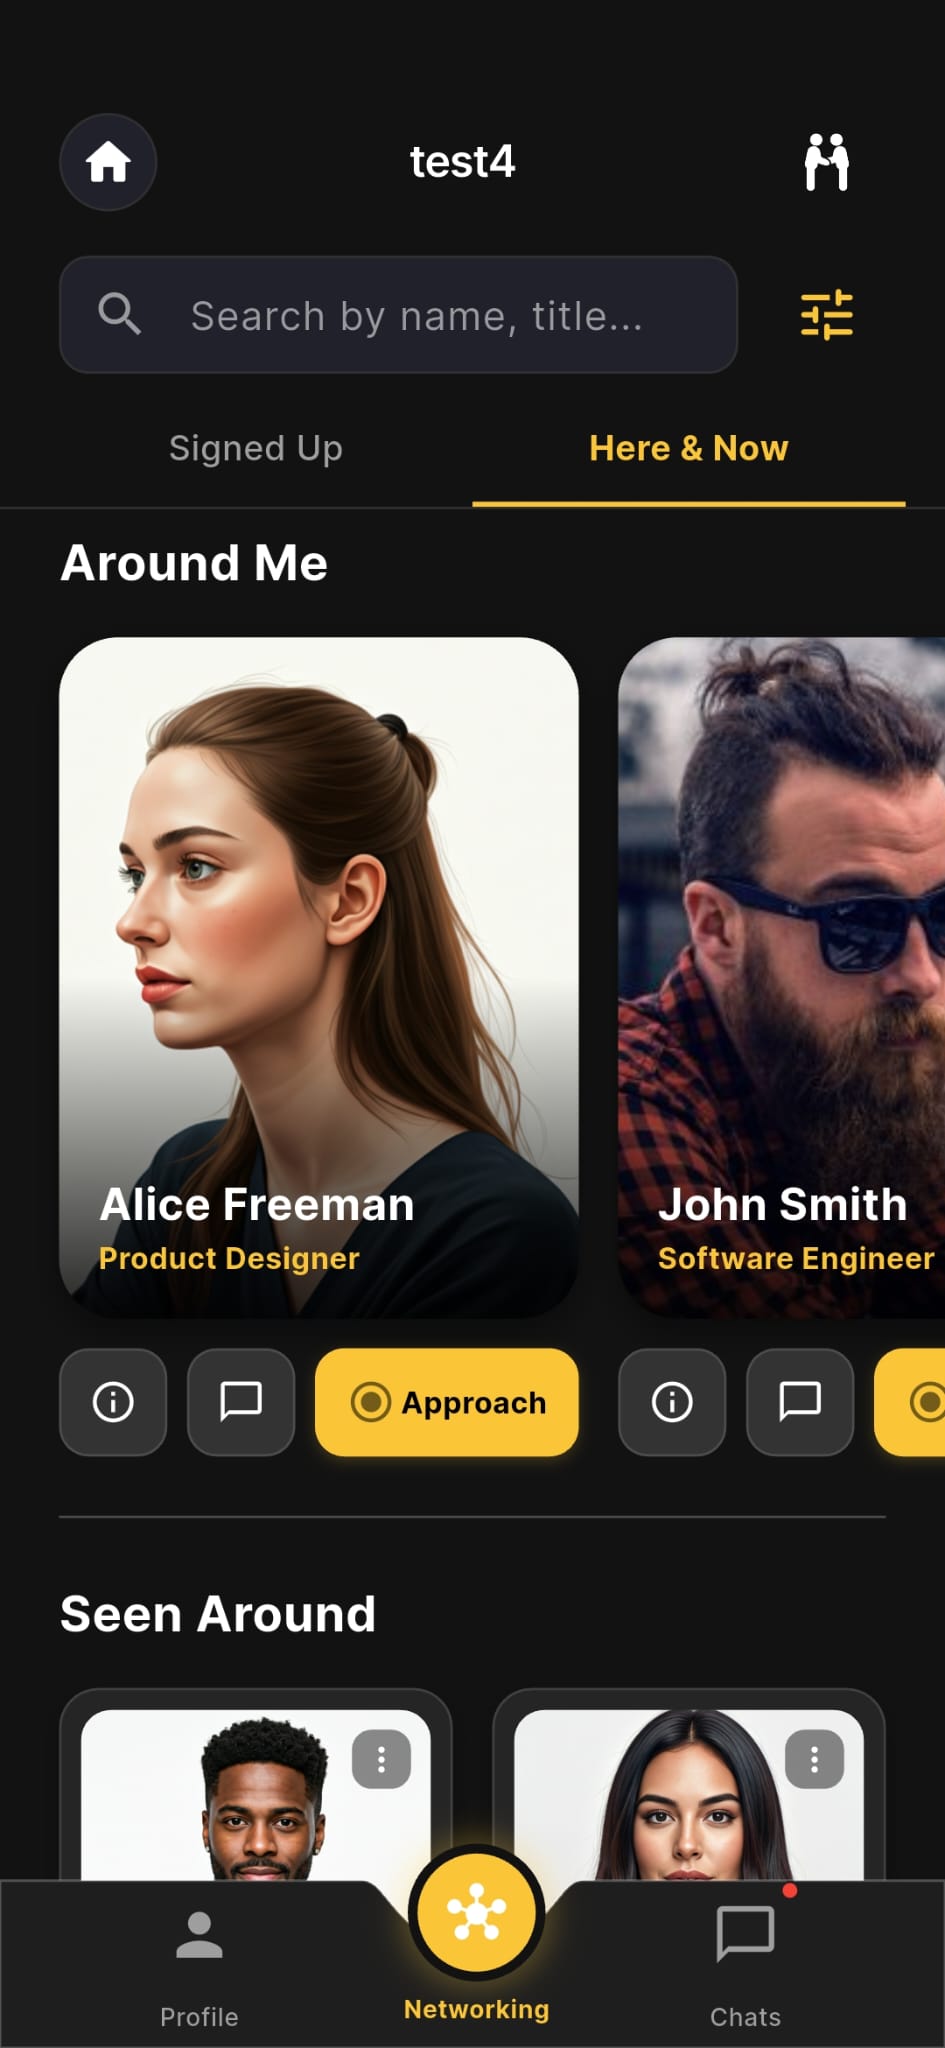
Find and connect with other attendees at the event.
- Visibility: On the top right there is a visibility toggle, that affects your visibility to other attendees, if you are open or closed to approach. attendees who set their visibility to closed will show up as with a red border around their card to other attendees.
- Filter & search bars: Effect the visible attendee cards lists based on the set criterias.
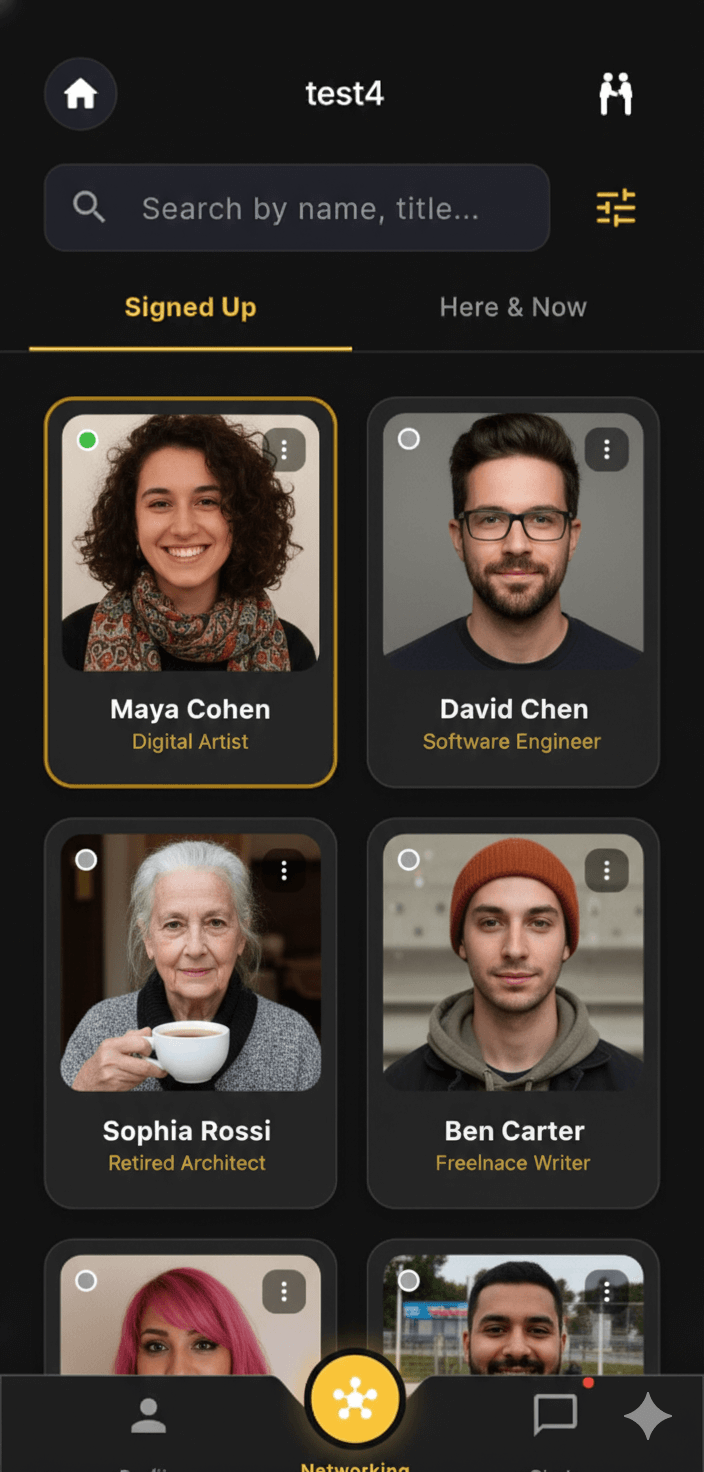
- Signed up tab: a list of all attendees who signed up to the event. A green dot on the attendees' card presents attendees who recently opened the app
- Here & Now tab - Around me list: A carousel list of attendees who are physically in my vicinity.
- Here & Now tab - Seen Around list: A scrollable list of attendees who were been recently seen by other attendees.
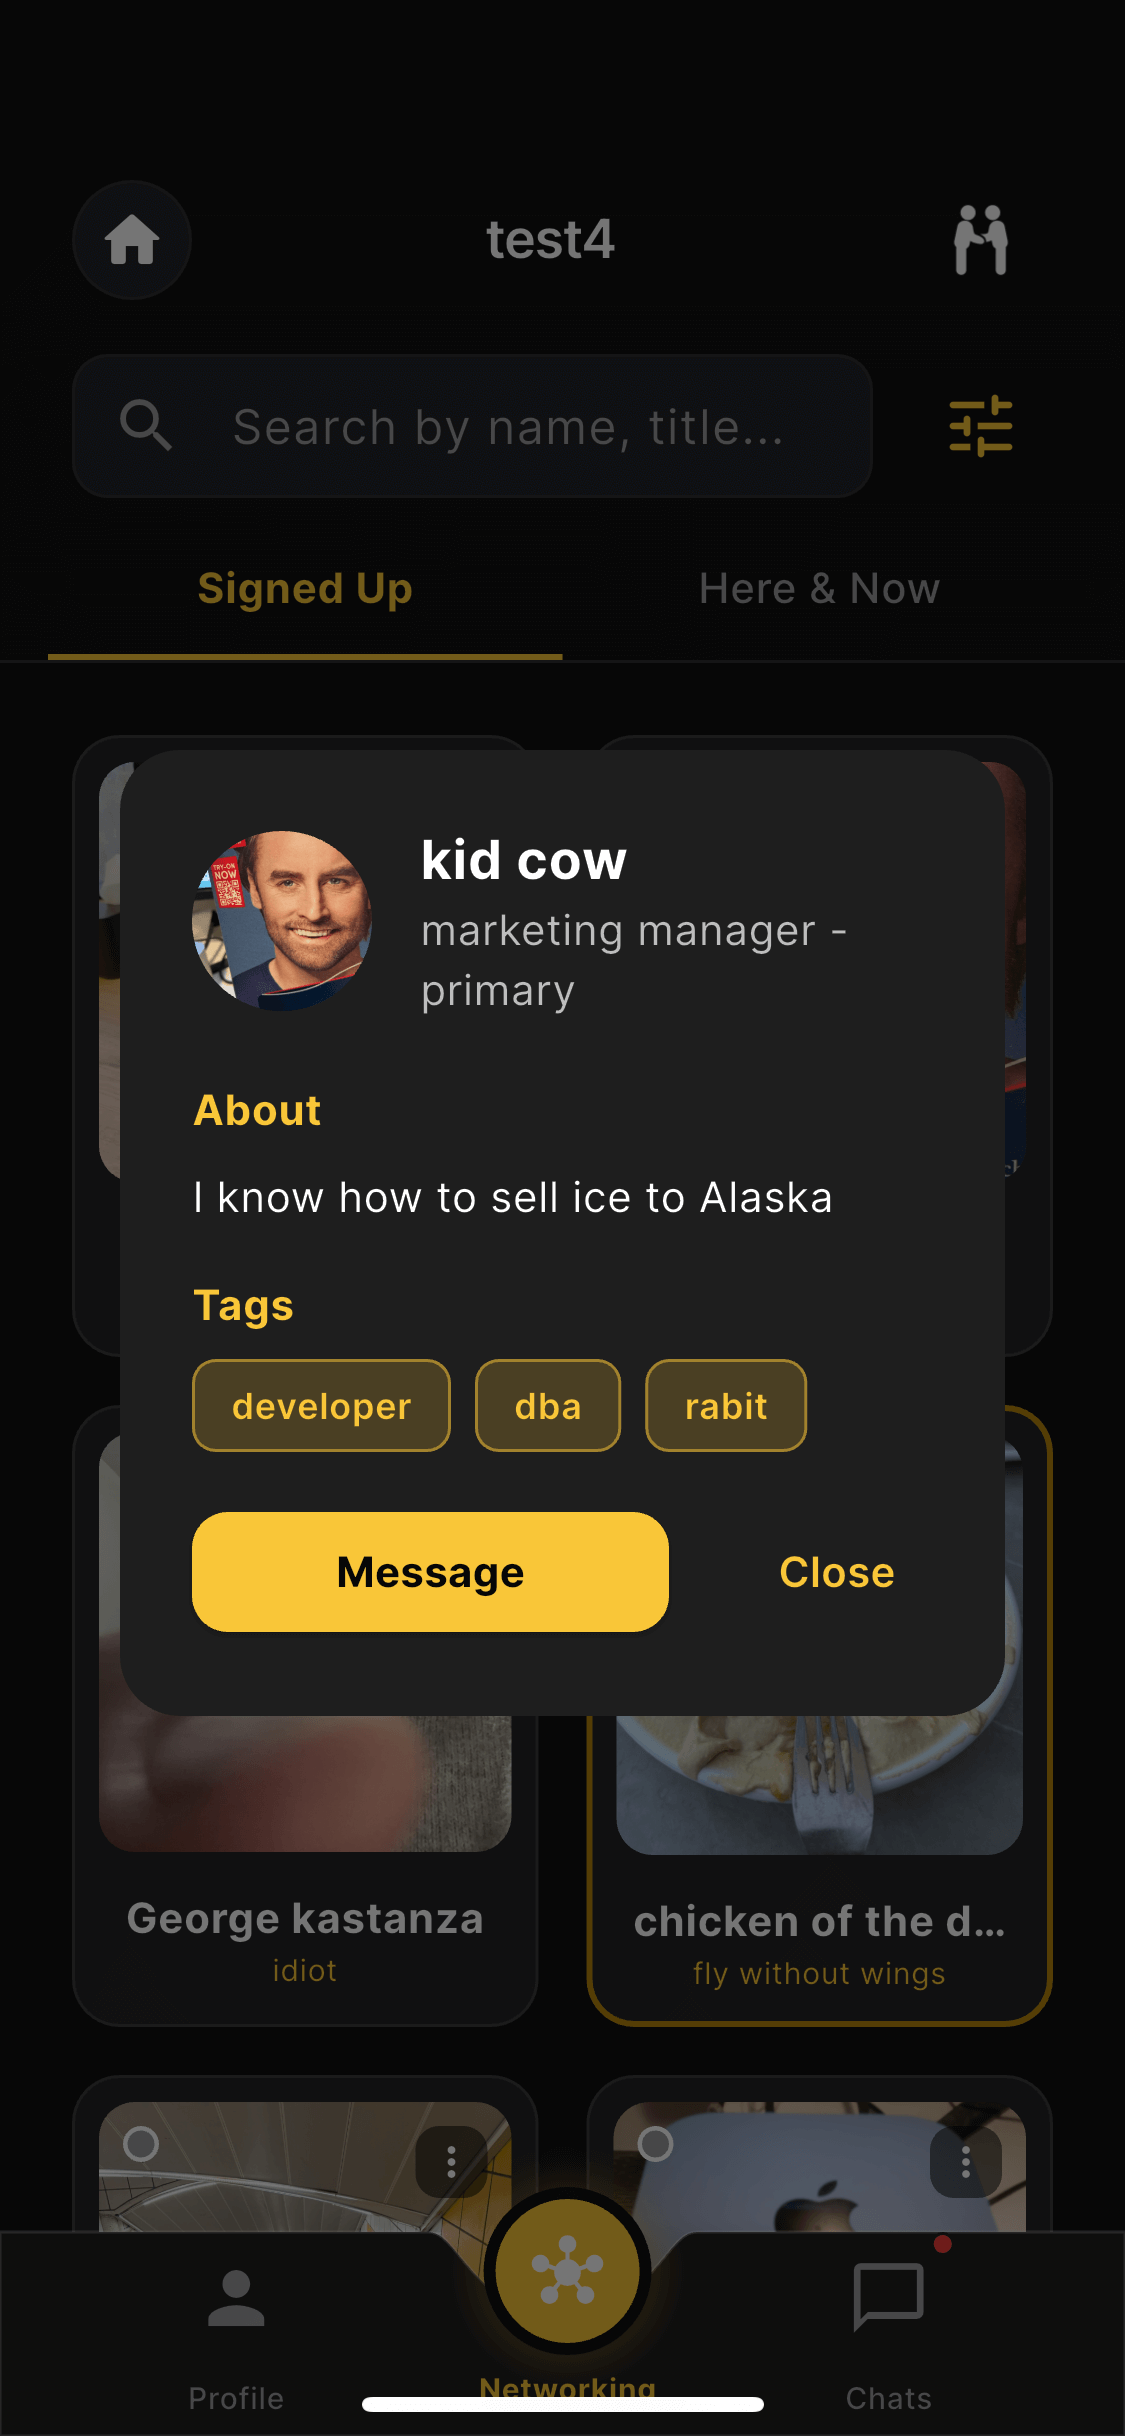
- Actions - info: Displays additional information about the attendee, like their about info and selected tags.
- Actions - chat: Opens a chat with the attendee.
- Actions - Approach: Sends an approach request to the attendee.
5. Managed Privacy Settings
Real-time attendee control over their visibility.
- Not open for conversation: Appears as a red border around the attendee's card and approach button will be disabled.
- Block attendee notifications: Only event info notifications will be triggered!
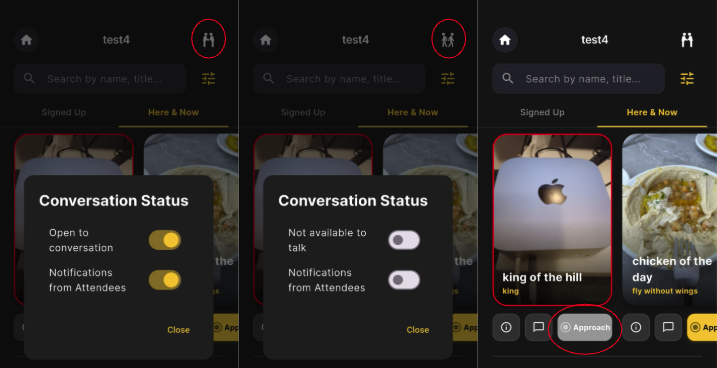
6. View attendee details
attendee card click will open the attendee details screen.
- General info: Display the attendee's profile information: image, filter tags, and about info.
- Actions: Start a chat with the attendee.
7. Signed up tab
View the entire list of attendees who signed up to the event.
- General info: Display the attendee's profile information: image, filter tags, and about info.
- 3 dots actions: View info, or start a chat with the attendee.
- Green dot: A green dot on the attendees' card presents attendees who recently opened the app
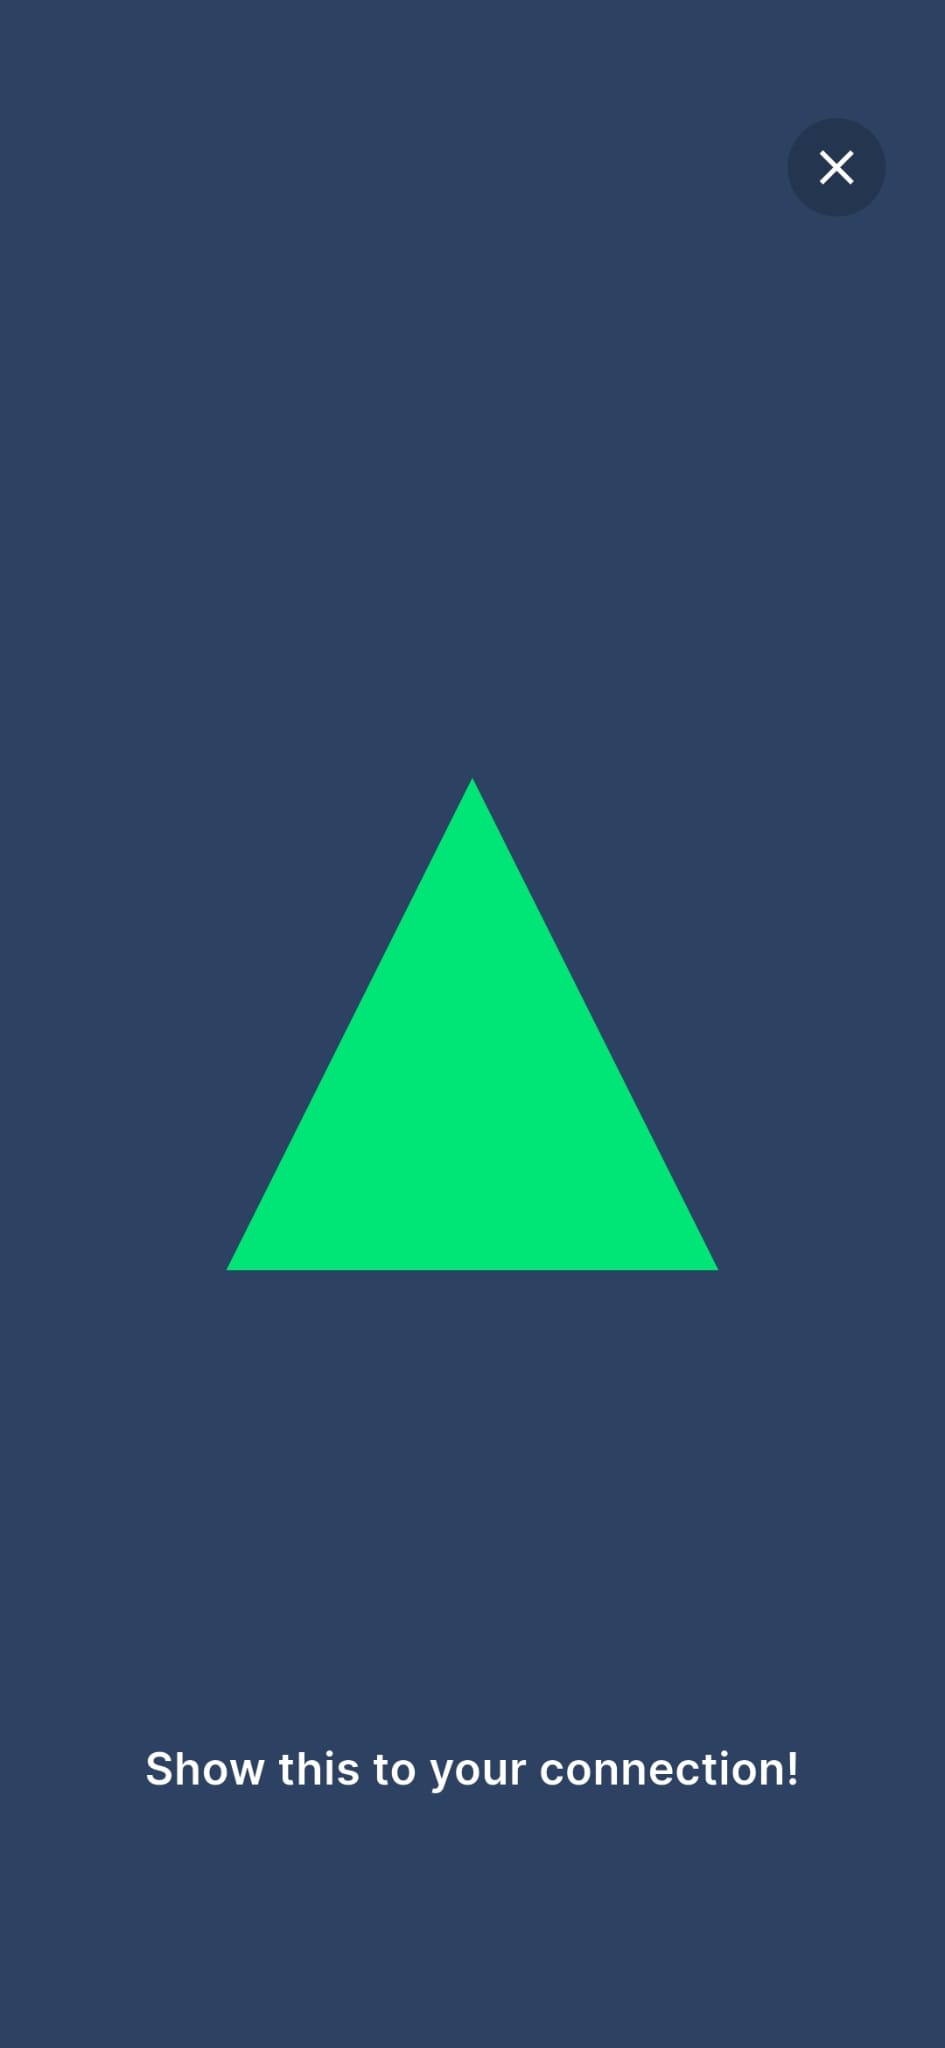
8. Approach
Beacon style approach an attendee.
- Share a beacon: If attendee accepts an approach request, both attendees will have their screens show a beacon screen.
- Present your beacon: Raising your phone in the air will present your beacon to the relevant people around you.
9. Chat
Chat with other attendees at the event.
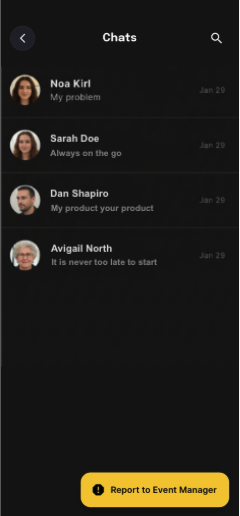
- Report: at the bottom of the chat screen there is a report button, for messages you want to send to the event manager.